Photoshop打造漂亮的红*结
时间:2021-07-01 10:21:17
帮助过:63人阅读
蝴蝶结的制作重点是作出彩带的层次。制作的时候需分段来完成各部分的制作,每一部分注意好光感的渲染,作出立体感和质感即可。
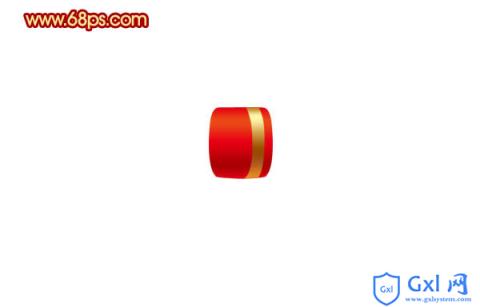
最终效果

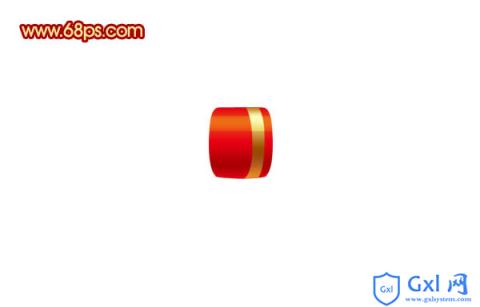
1、新建一个800 * 600像素的文档,背景选择白色。新建一个组,在组里新建一个图层,用钢笔勾出下图所示的选区。
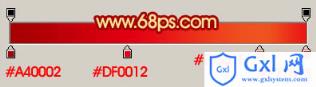
选择渐变工具,颜色设置如图2,由上至下拉出图3所示的线性渐变。
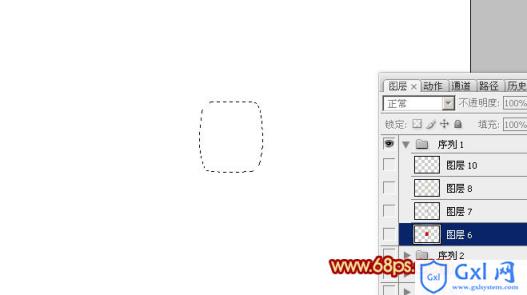
<图1>
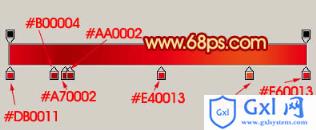
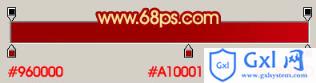
<图2>
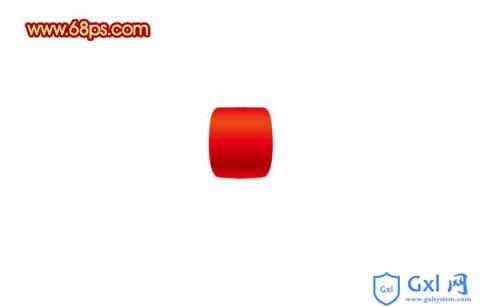
<图3>
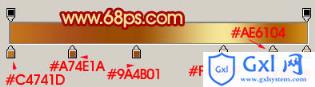
2、新建一个图层,用钢笔勾出图4所示的选区,选择渐变工具,颜色设置如图5,拉出图6所示的线性渐变。

<图4>
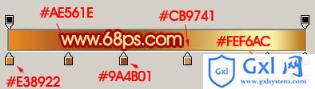
<图5>
<图6>
3、新建一个图层,用钢笔工具勾出下图所示的选区,填充颜色:#FFB82E,图层混合模式改为“颜色减淡”,不透明度改为:20%,效果如下图。

<图7>
4、中间部分大致完成的效果如下图。
<图8>
5、在背景图层上面新建一个图层,用钢笔勾出图9所示的选区,拉上图10所示的线性渐变。

<图9>
<图10>
6、新建一个图层,用钢笔勾出图11所示的选区,选择渐变工具,颜色设置如图12,拉出图13所示的线性渐变。

<图11>
<图12>

<图13>
7、新建一个图层,用钢笔勾出底部的空隙选区,如图14,拉上图层15所示的渐变色。

<图14>
<图15>