Photoshop打造光滑的巧克力立体心形
时间:2021-07-01 10:21:17
帮助过:58人阅读
本教程介绍简单的水晶立体图形的制作方法。制作之前需要对透视有一些简单的了解。然后按照透视原理做出合理的立体图形。后期再上色及添加高光及暗调即可。
最终效果

1、新建一个450 * 450 像素的文档,背景选择白色。新建一个图层命名为“心形正面”,用钢笔工具勾出心形的路径,转为选区如下图。

<图1>
2、选择渐变工具,颜色设置如图2,由中心向四周拉出图3所示的径向渐变。
<图2>

<图3>
3、选择菜单:图层 > 图层样式 > 斜面和浮雕,参数设置如图4,效果如图5。
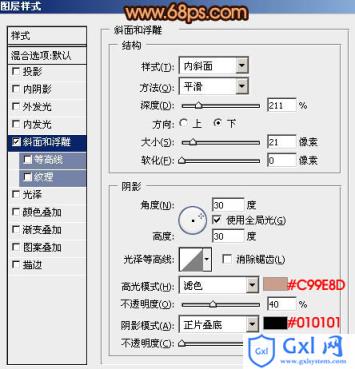
<图4>

<图5>
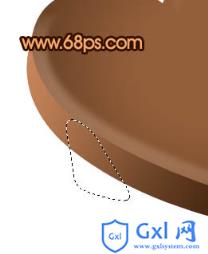
4、在当前图层下面新建一个图层,用钢笔勾出图6所示的选区,选择渐变工具,颜色设置如图7,拉出图8所示的线性渐变。

<图6>

<图7>

<图8>
5、新建一个图层,用钢笔勾出图9所示的选区,选择渐变工具颜色设置如图10,拉出图11所示的线性渐变。

<图9>
<图10>

<图11>
6、新建一个图层,用钢笔勾出图12所示的选区,按Ctrl + Alt + D 羽化8个像素后填充颜色:#EDD3C8,图层不透明度改为:70%,按Ctrl + Alt + G 与前一图层编组,效果如图13。
<图12>

<图13>
7、在图层的最上面新建一个图层,用钢笔勾出图14所示的选区,填充颜色:#CA9E8B,图层混合模式改为“柔光”,加上图层蒙版,用黑色画笔把边角部分擦出来,效果如图15。

<图14>
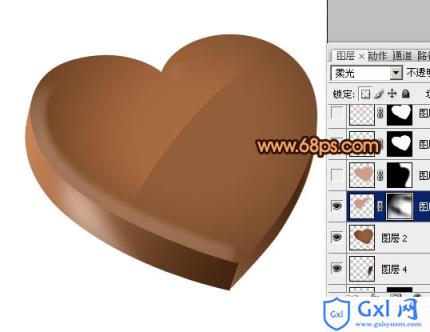
<图15>