Photoshop快速打造个性文字人像效果
时间:2021-07-01 10:21:17
帮助过:65人阅读
制作文字人像关键是把人物的中间调及暗调选区制作出来,有了选区后再把文字等应用到选区里面,适当调节好密度和颜色即可。
原图

最终效果

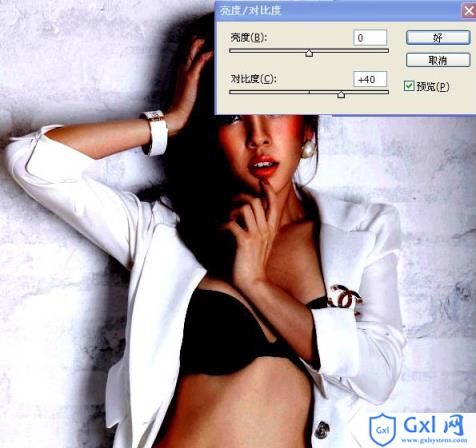
1、打开原图素材,调整亮度对比度(图像 > 调整 > 亮度/对比度)。
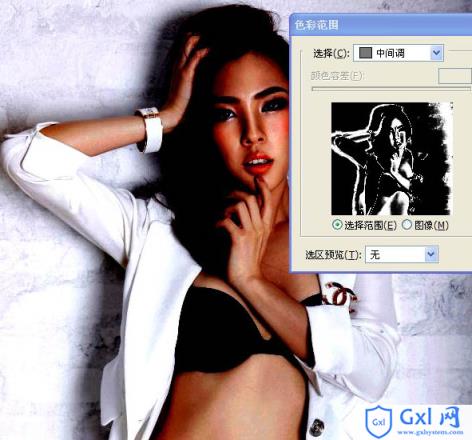
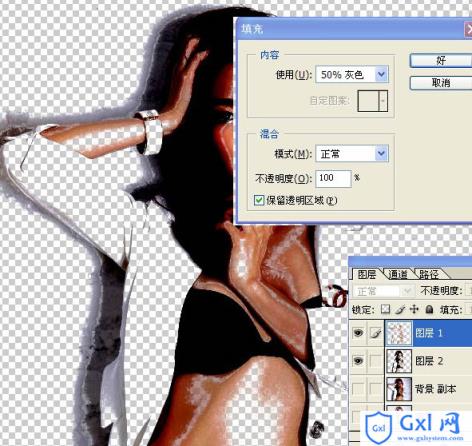
2、设置色彩范围(选择 > 色彩范围),选择中间调,如下图,确定后新建一个图层填充50%灰色。

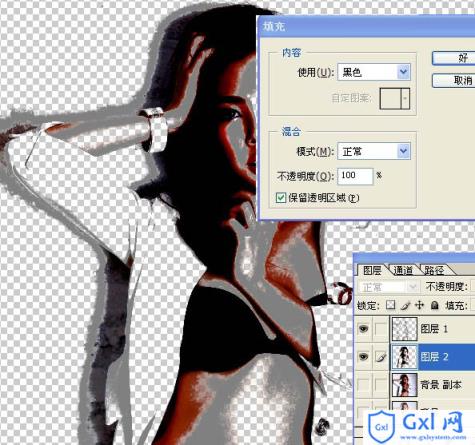
3、设置色彩范围(选择 > 色彩范围),选择暗调,确定后新建一个图层填充黑色。


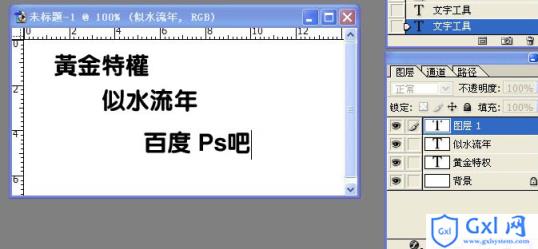
4、新建一个大小适当的文档,选择文字工具打上下图所示的文字,合并图层后选择菜单:编辑 > 定义画笔。
5、回到刚才操作的文档,把暗调及中间调图层合并,然后再当前图层下面新建一个图层填充白色,如下图。
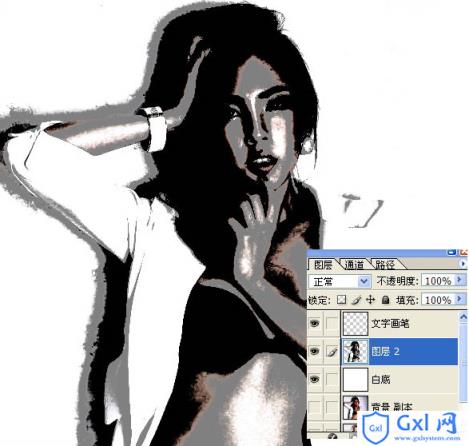
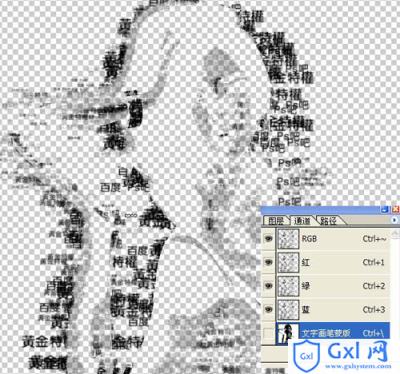
6、在图层的最上面新建一个图层,用刚才定义的文字笔刷,沿着人物轮廓刷上文字。

7、调出下图人物的选区。
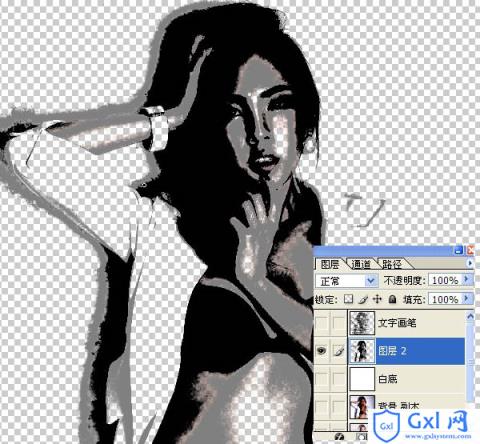
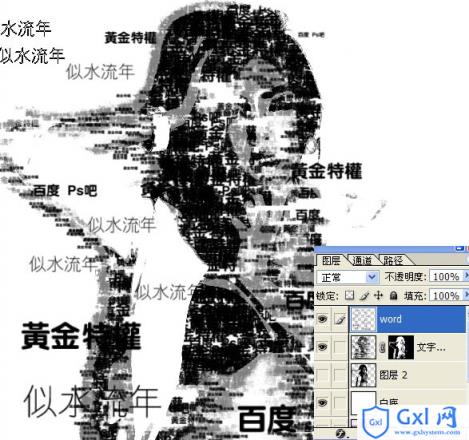
8、保持选区,给文字图层加上图层蒙版,效果如下图。
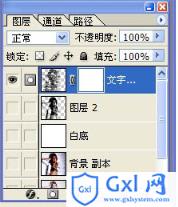

9、新建一个图层,再刷上一些文字,效果如下图。
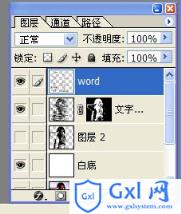
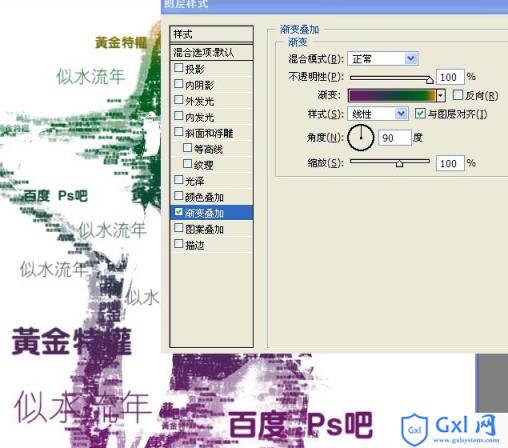
10、合并文字图层,再添加图层样式,选择渐变叠加,参数设置如下图。
最终效果:
以上就是Photoshop快速打造个性文字人像效果的内容,更多相关内容请关注PHP中文网(www.gxlcms.com)!