时间:2021-07-01 10:21:17 帮助过:7人阅读
If that worked, then lucky you! Getting it compiled is where many people seem to have trouble. Now you just need to sign it to give it permission to control OS X processes.
Open up the Keychain Access application (/Applications/Utilities/Keychain Access.app). Navigate via the menu to Keychain Access > Certificate Assistant > Create Certificate...
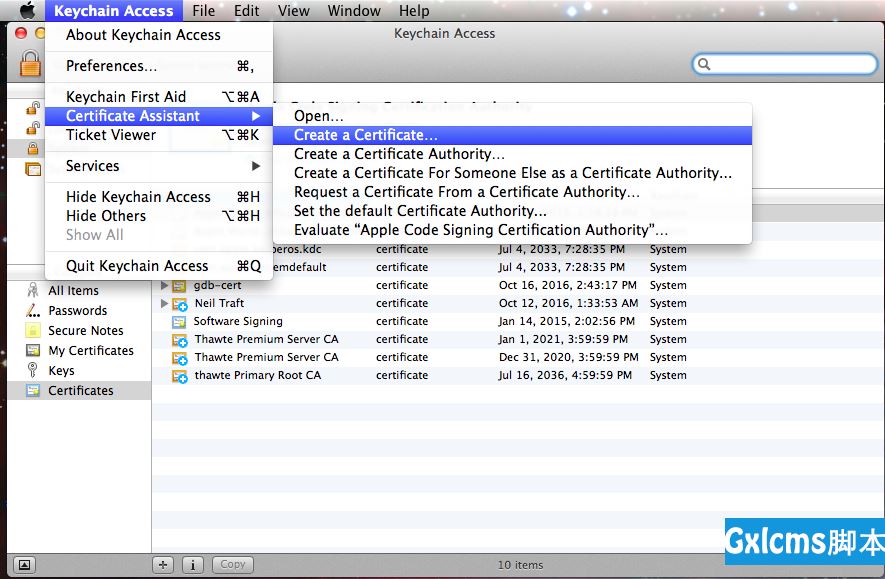
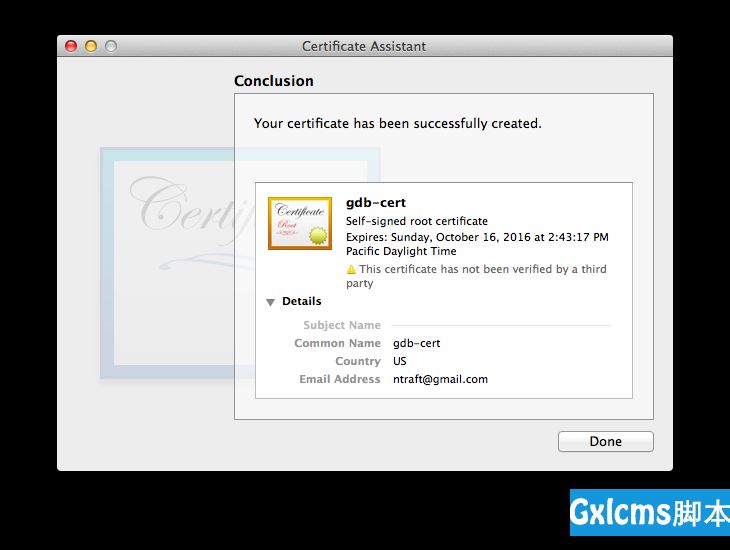
Enter a name for the certificate. For this how-to, I‘ll call it "gdb-cert". Set the fields exactly as shown below.
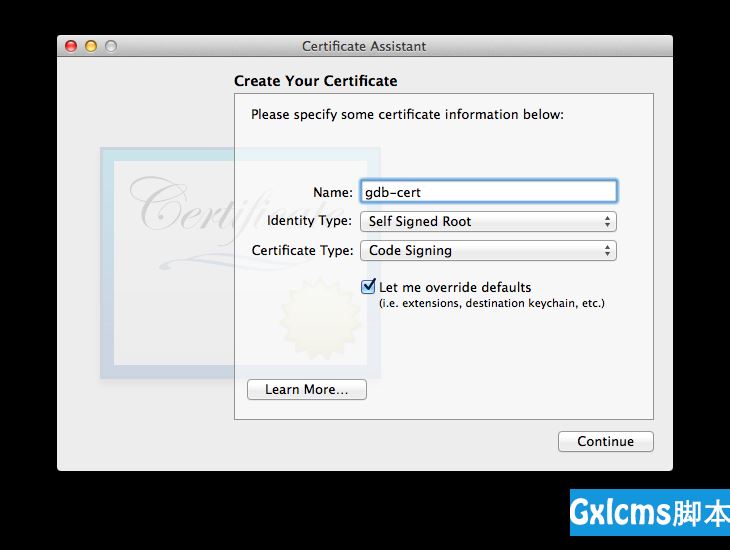
The maximum validity period is 999 days. I don‘t really want to deal with this again, so I‘m going to max it out.
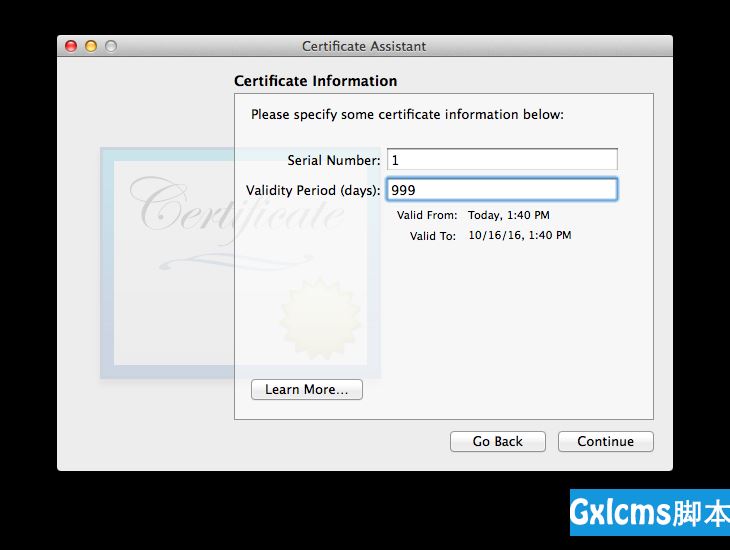
Keep clicking the "Continue" button until you are asked for a location. Set it to "System".3
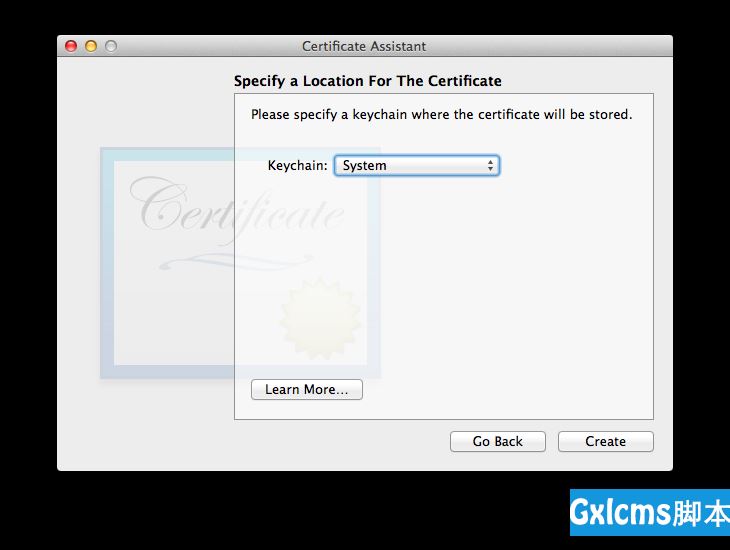
Success!
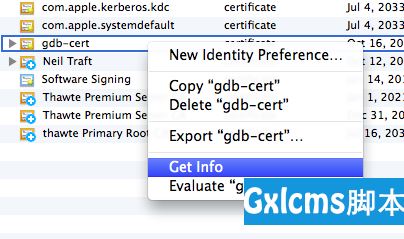
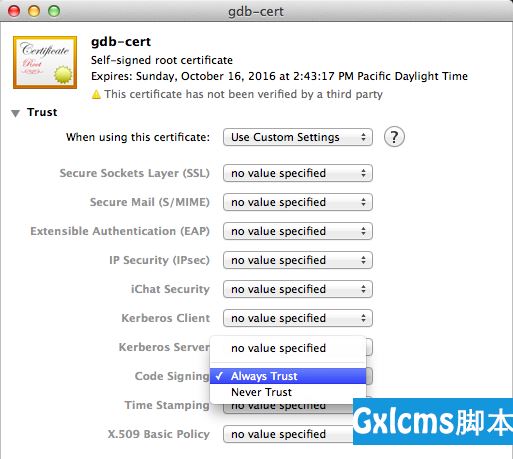
Now make sure the cert is always trusted. Right-click the new certificate and select Get Info. Under the Trust section, set Code Signing to Always Trust.
Now that we have a certificate, we need to use it to sign GDB. First, we‘ll restart the taskgatedprocess to make sure it picks up the new certificate. Quit Keychain Access (you must quit Keychain Access!) and return to the Terminal for these final commands.
Find the taskgated process.
$ ps -e | grep taskgatedThe first number in the above output is the PID. Use this to kill the process (it will immediately restart itself).
$ sudo kill -9 56822Now you can finally code sign GDB.
# MacPorts versionNow you should be all set! The OS X Keychain may ask for your password the first time you attempt to debug a program, but it should work!
There‘s one more step for Eclipse users. You need to specify where Eclipse can find the new GDB. Specify the path to GDB in Preferences > C/C++ > Debug > GDB:
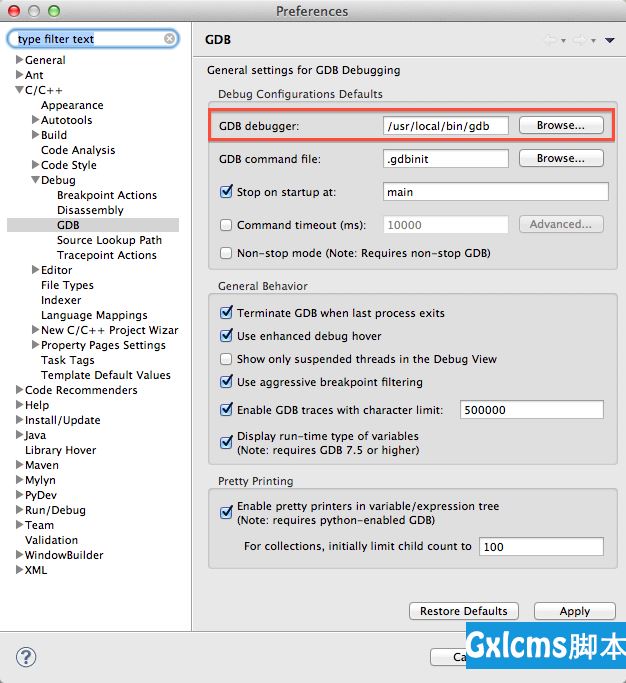
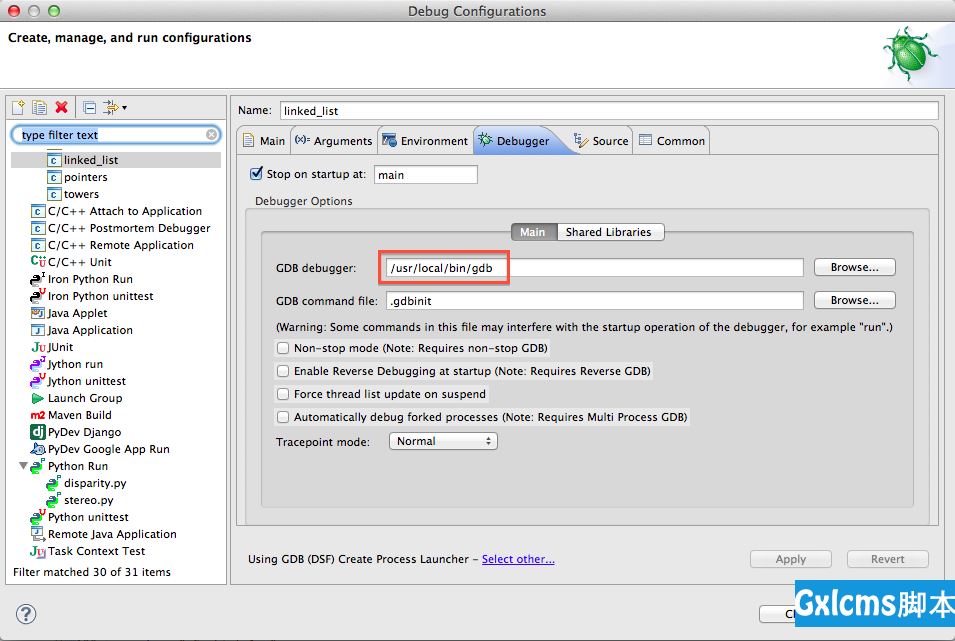
If you already have some debug configurations, you may need to edit them individually to point to the correct place (under Run > Debug Configurations...):
mac上eclipse用gdb调试(转)
标签: