当前位置:Gxlcms >
数据库问题 >
安装Oracle 10g和SQLServer2008(仅作学习使用VirtualBox虚拟机来安装节省电脑资源)
安装Oracle 10g和SQLServer2008(仅作学习使用VirtualBox虚拟机来安装节省电脑资源)
时间:2021-07-01 10:21:17
帮助过:3人阅读
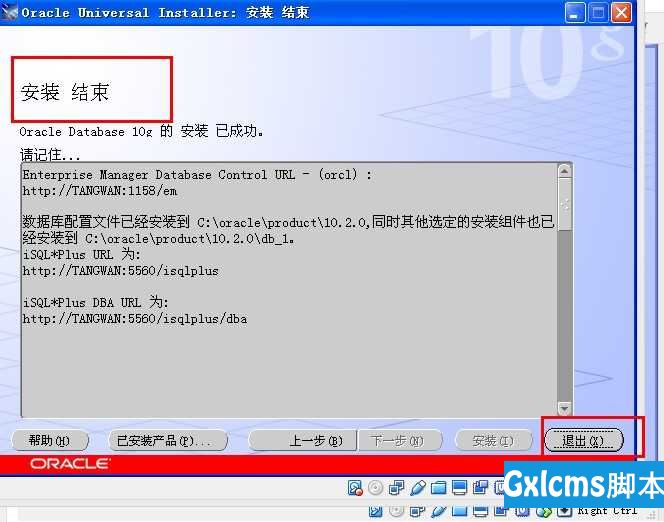
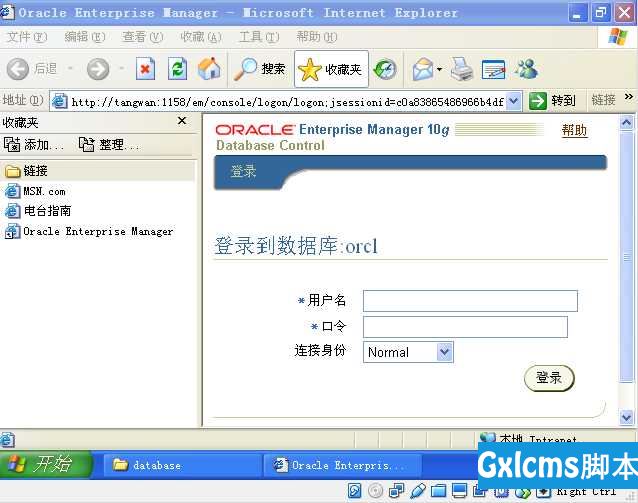
9.安装结束--------->点击"退出"---->跳到浏览器管理页面http://tangwan:1158/em/console/logon/logon;jsessionid=c0a83865486966b4dfbb2fd45e5b59785a8ba07e1eb
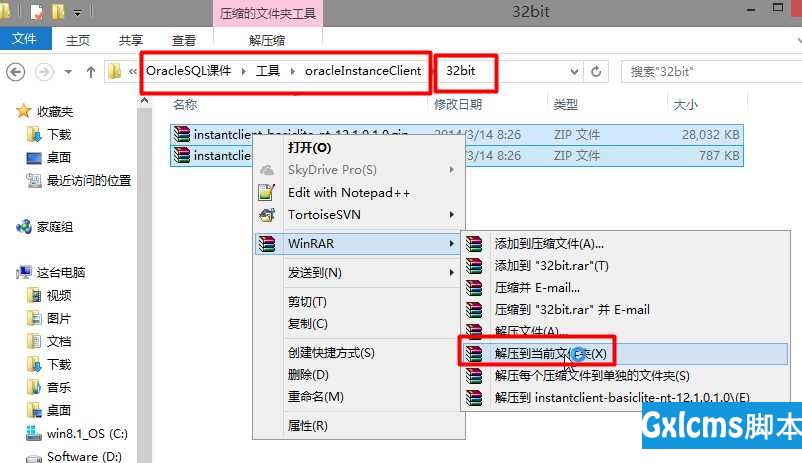
10.客户端连接Oracle 10g;解压32位客户端工具------>可以放在本机也可以放在远程机器,或者宿主机.只是一个客户端而已.
11.在系统环境变量加入解压的目录:E:\GreenSoftware\instantclient_12_1x86;里面的sqlplus.exe是客户端工具
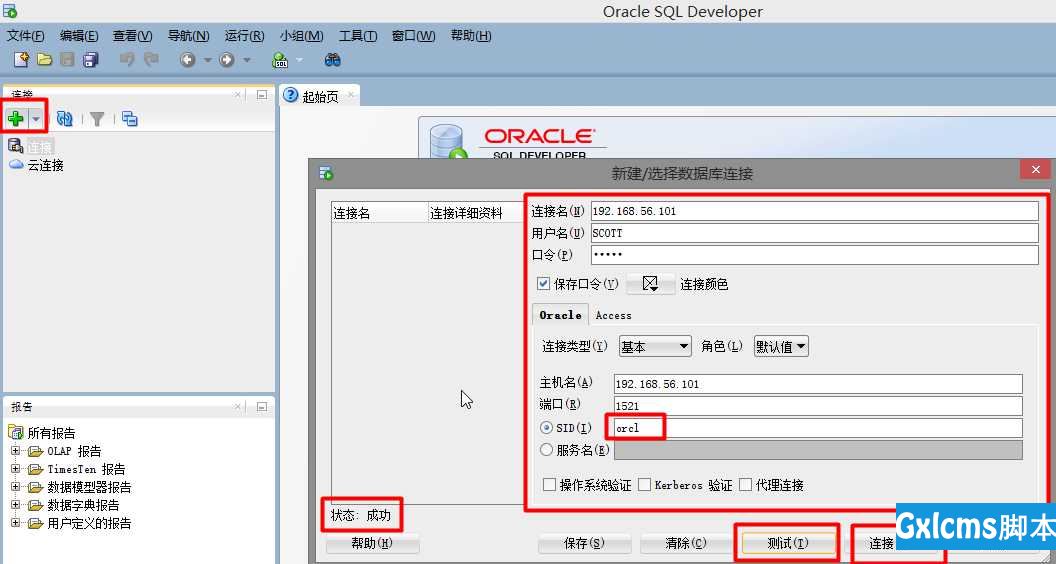
12.解决中文乱码问题.名称:NLS_LANG值:SIMPLIFIED CHINESE_CHINA.ZHS16GBK
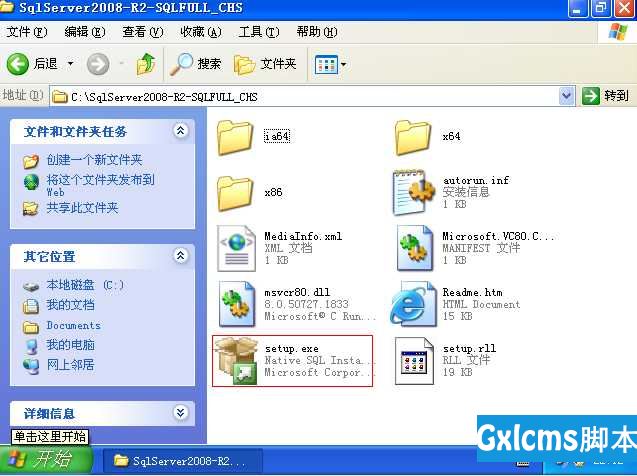
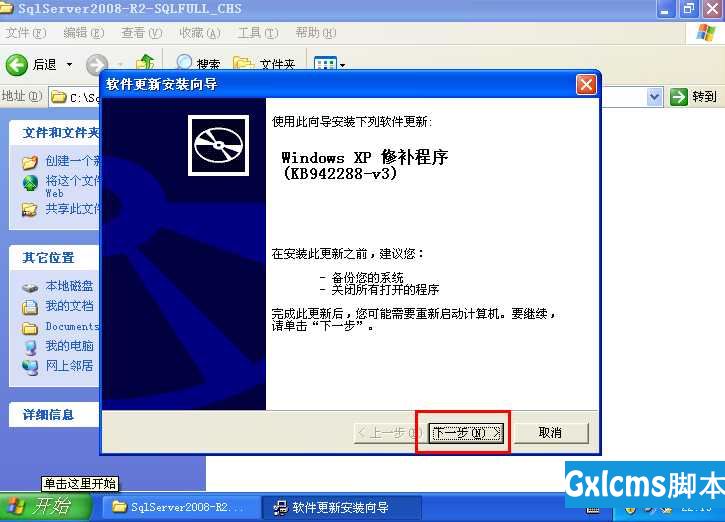
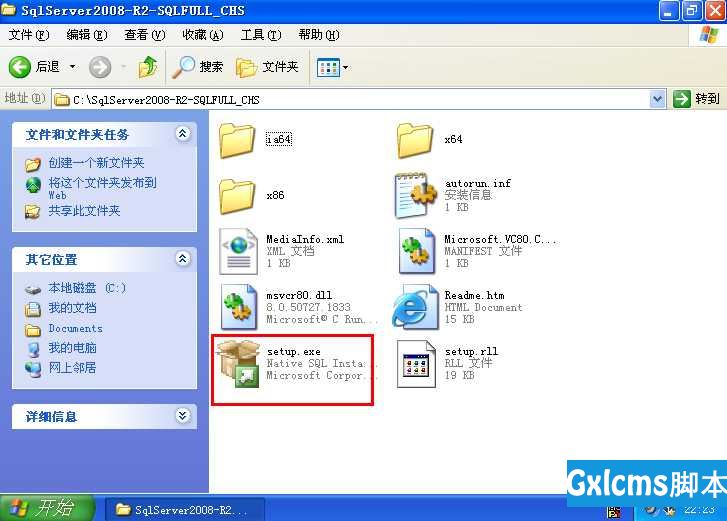
安装SQLServer20081.点击setup.exe开始安装.
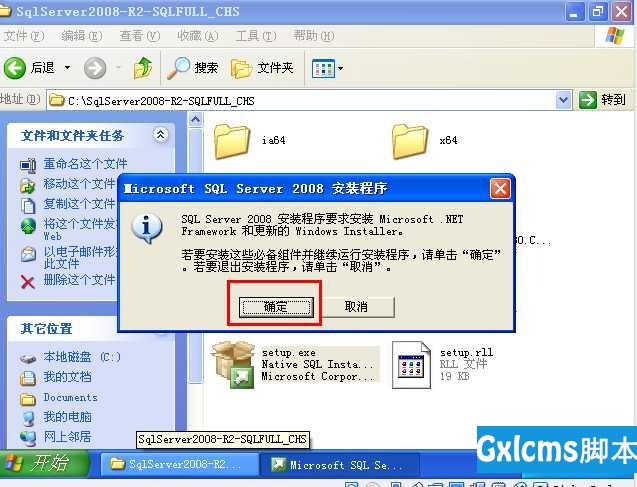
2.提示安装必要组件,直接点击"确定"
3.勾选"已阅读"--------->点击"安装"framework 3.5

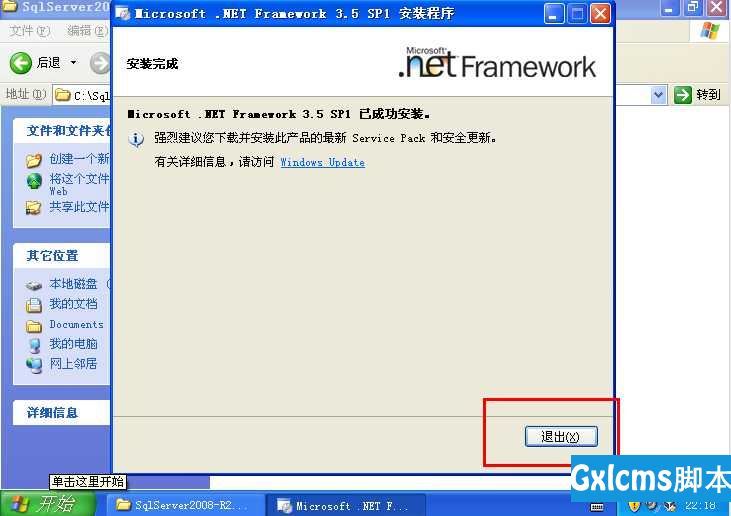
4.安装net framework3.5完成后,点击"退出"
5."下一步"
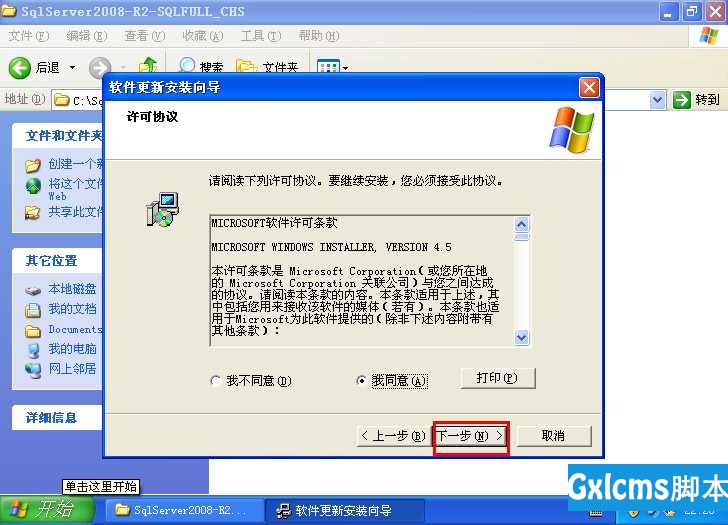
6."我同意"----->"下一步"
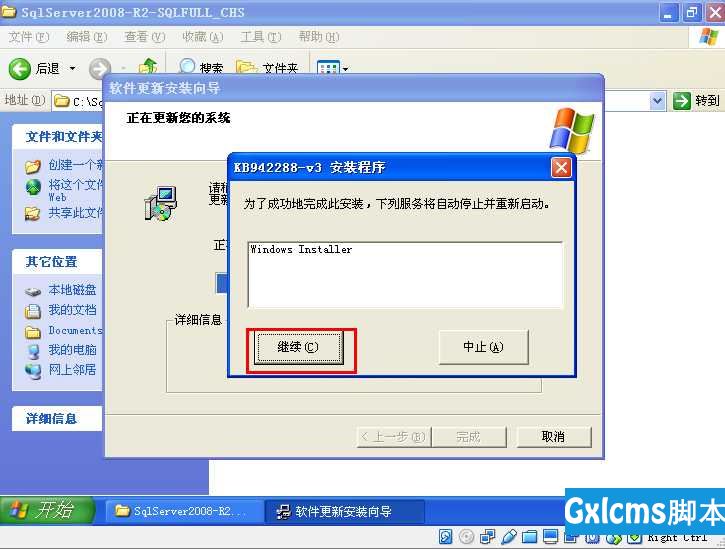
7.点击"继续"
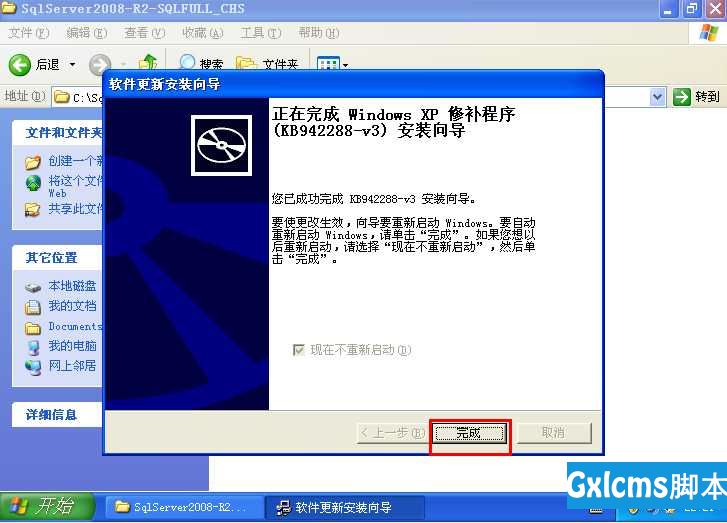
8.点击"完成"
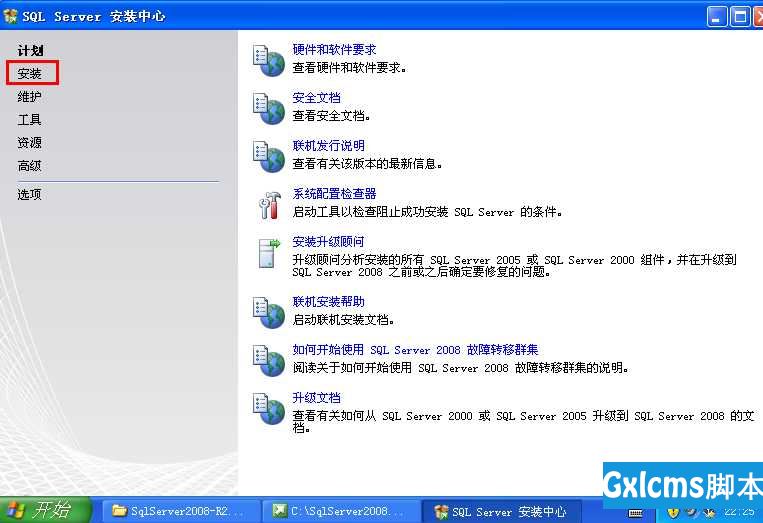
9.重启电脑(虚拟机)----------> 使刚才安装的net framework3.5生效.10.点击"setup.exe"开始进入安装程序
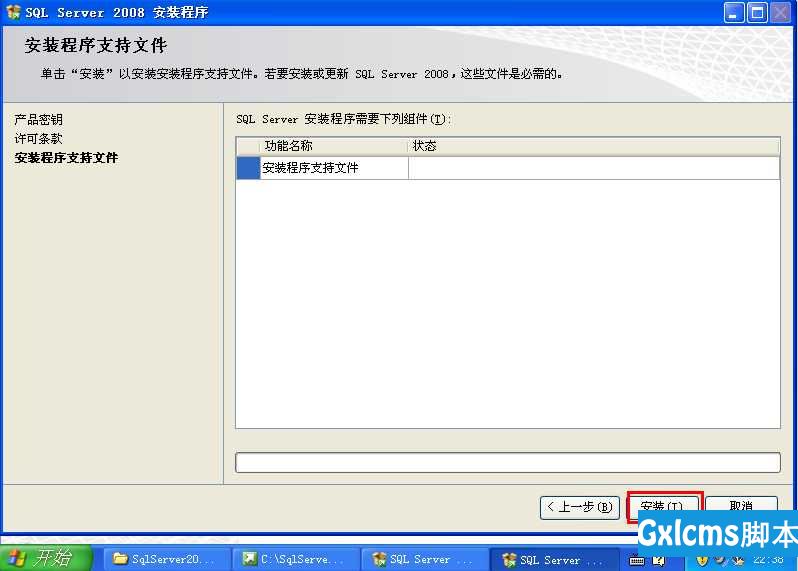
11.点击"安装"
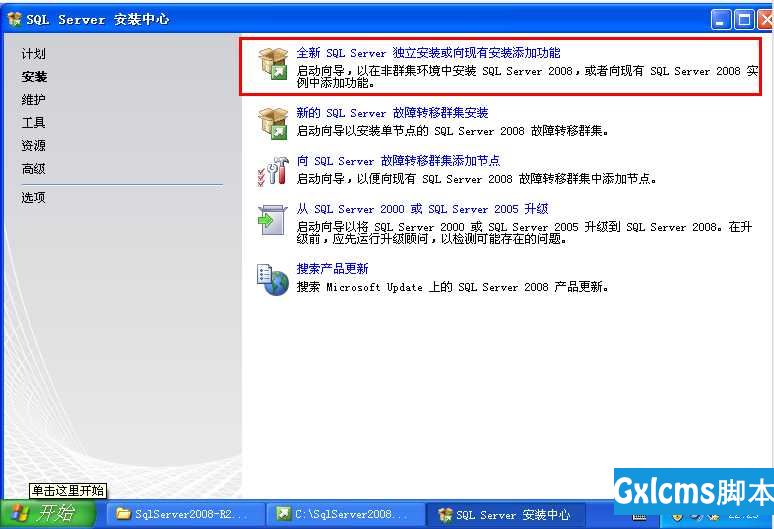
12.我们电脑上没装过sqlserver,所以选择,选中"全新安装..."
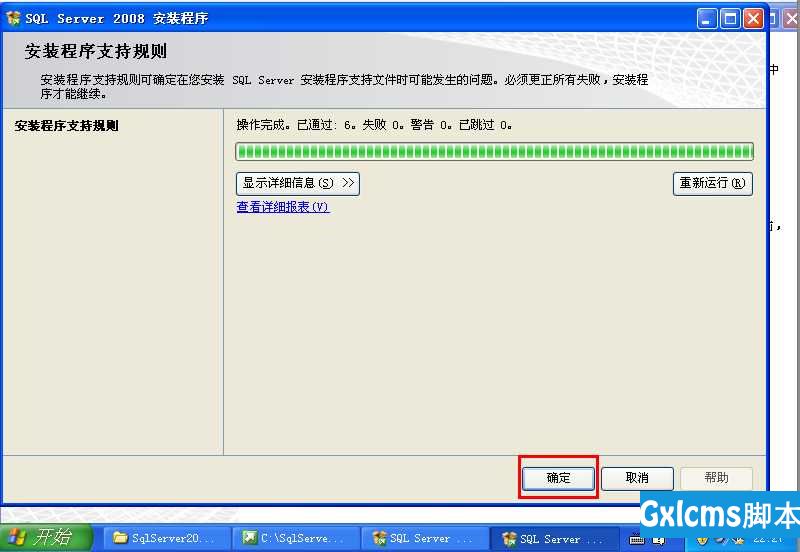
13.点击"确定"
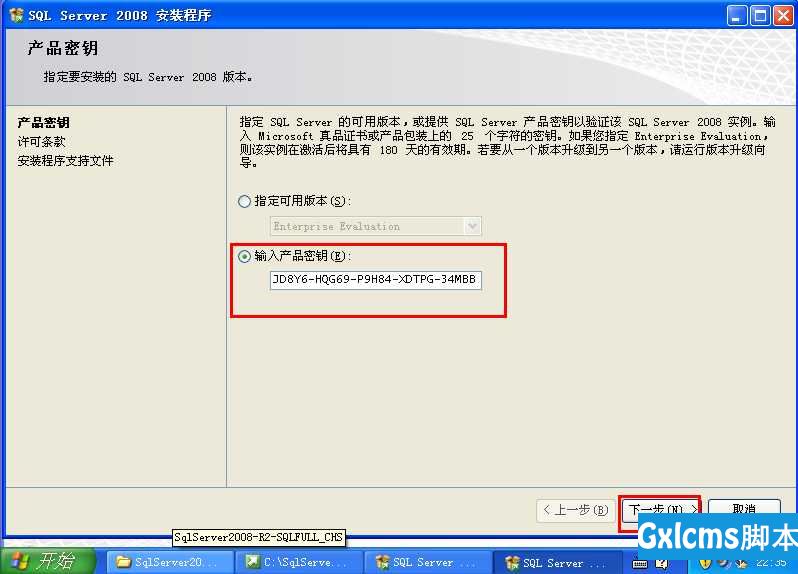
14.输入企业版密钥(百度搜),JD8Y6-HQG69-P9H84-XDTPG-34MBB;点击"下一步"
15.勾"接受"-------->下一步

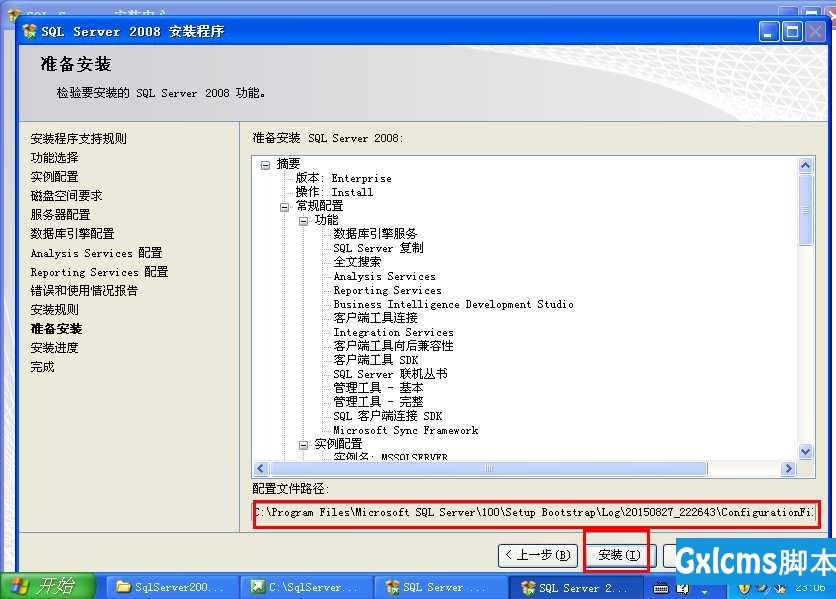
16.点击"安装"
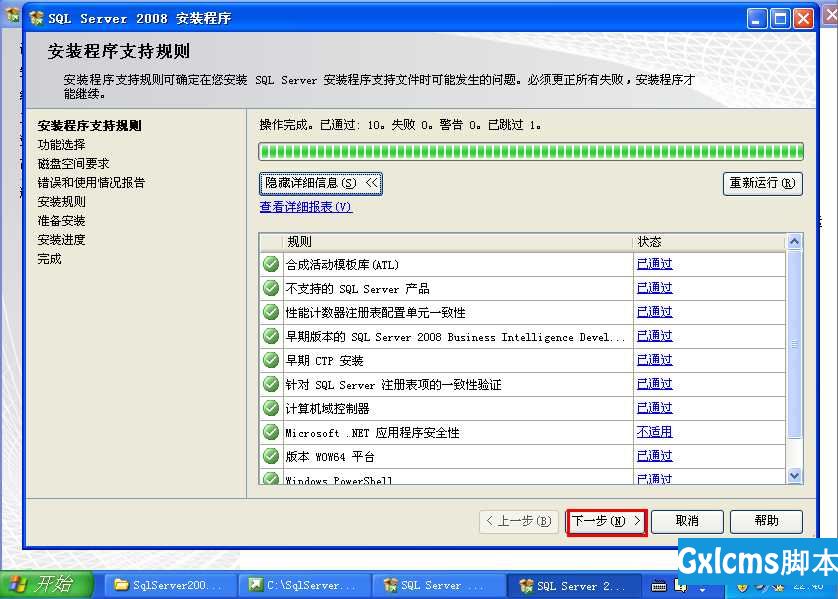
17."下一步"
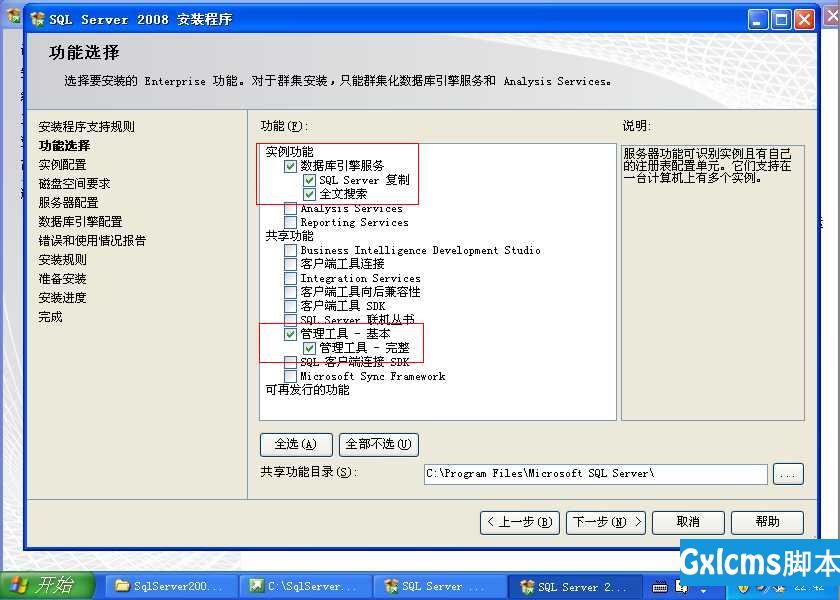
18.这里选择安装那些工具,我这只是自己学习使用就只装一部分了;点"下一步";可以更改安装路径
19.选择"默认实例",可以改实例ID,实例目录
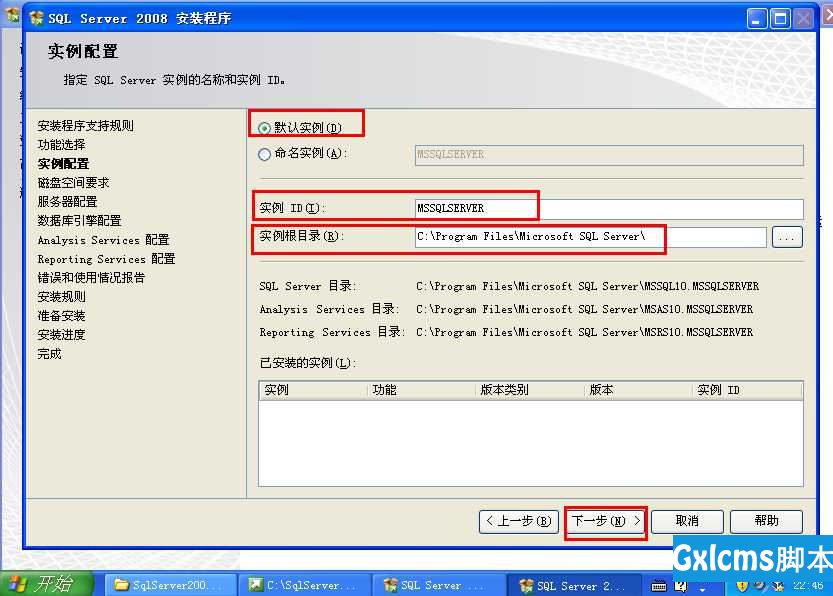
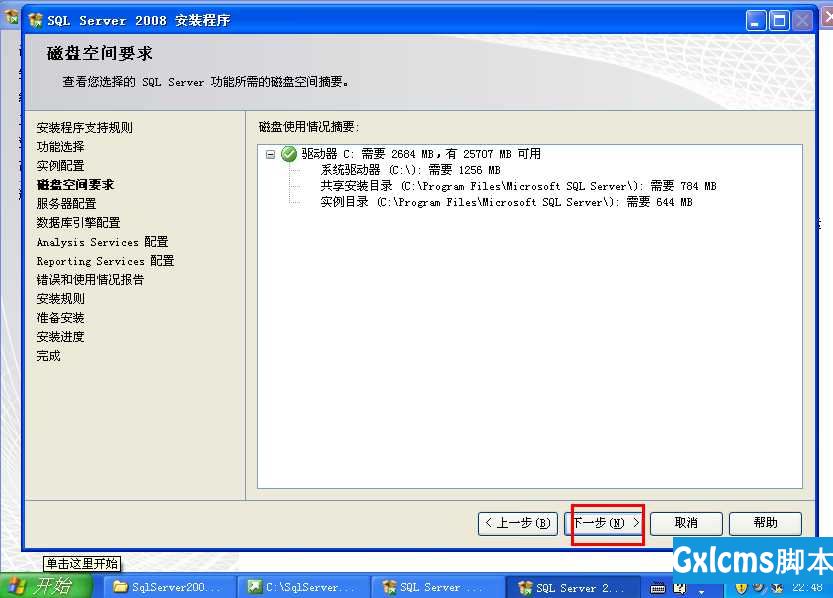
20."下一步"
21.
SQL Server代理 选 SYSTEMSQL Server database engine 选 NETWORK SERVICESQL Serveranalysis services 选 NETWORK SERVICESQL Serverreporting services 选 NETWORK SERVICESQL Serverintegration services 选 NETWORK SERVICE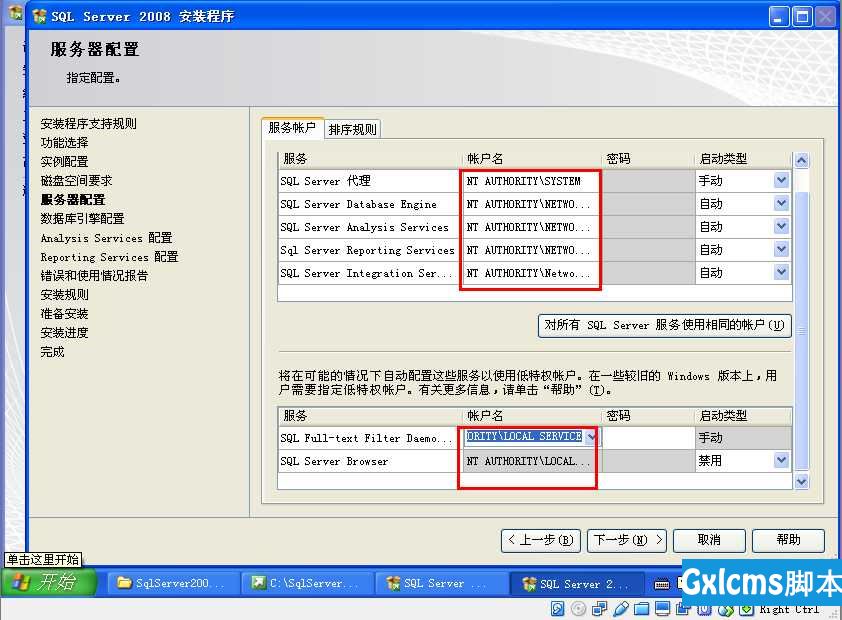
22.选择"混合登陆"------->sa/sa用户名/密码root/root
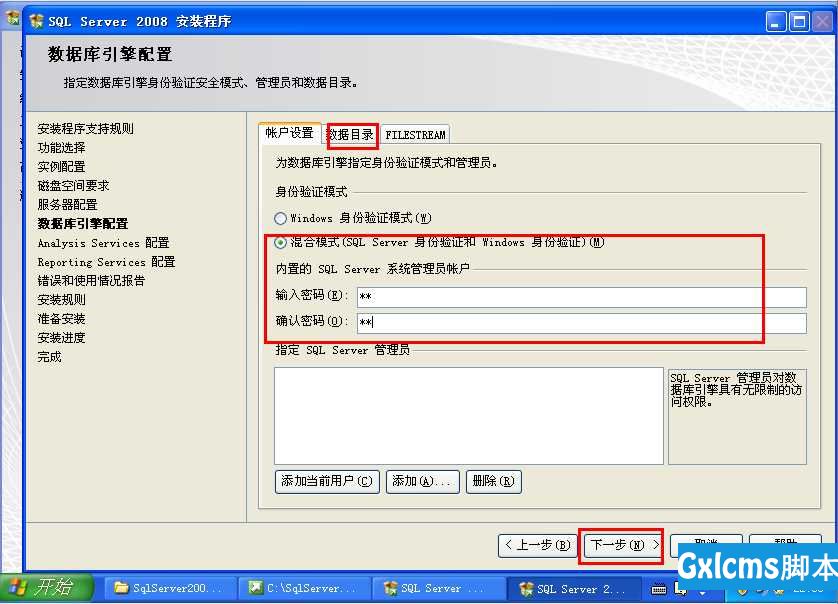
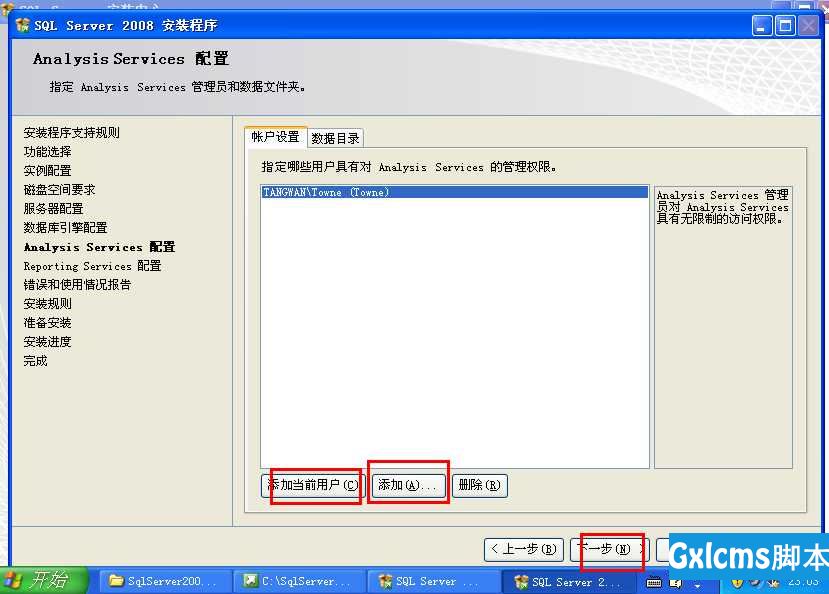
23.添加管理员账户;可以多个
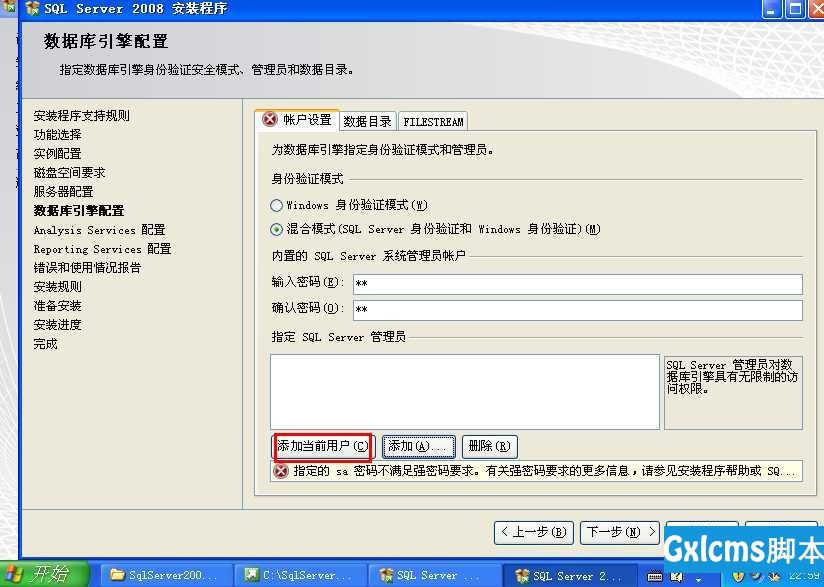
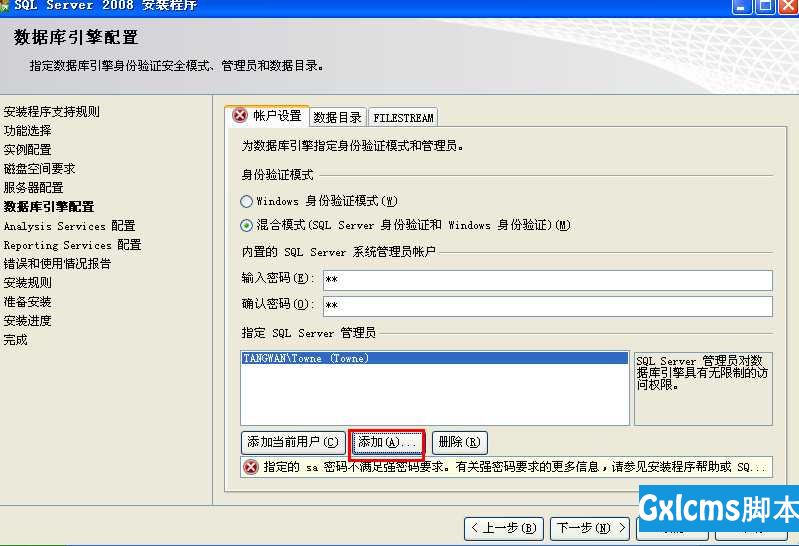
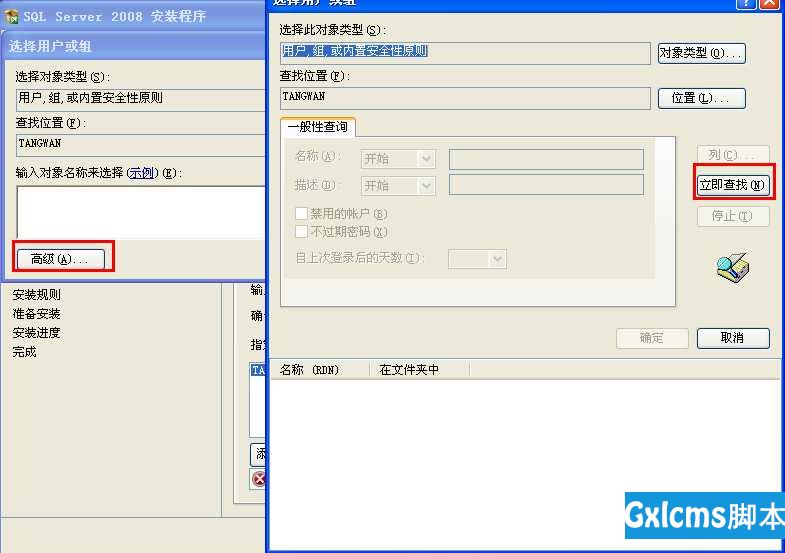
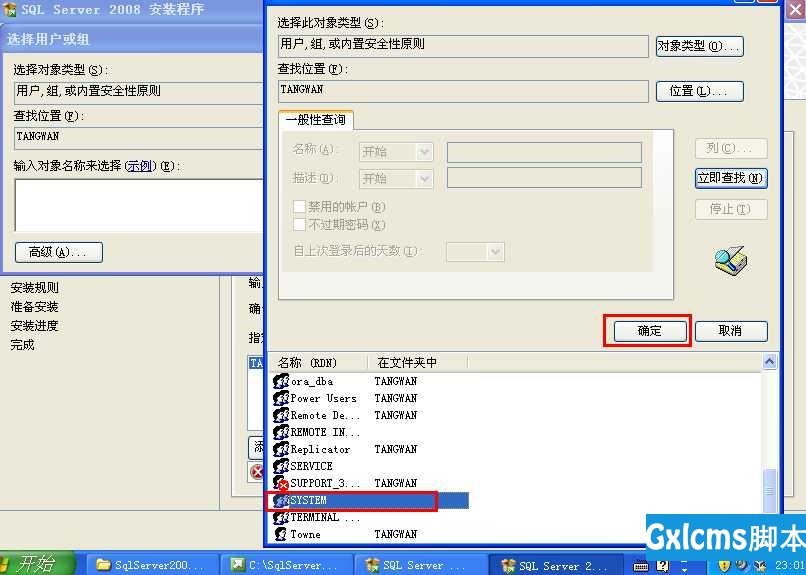
24.可以选择多个,参考上面方法;"下一步"
25.
选择“安装本机模式默认配置”项。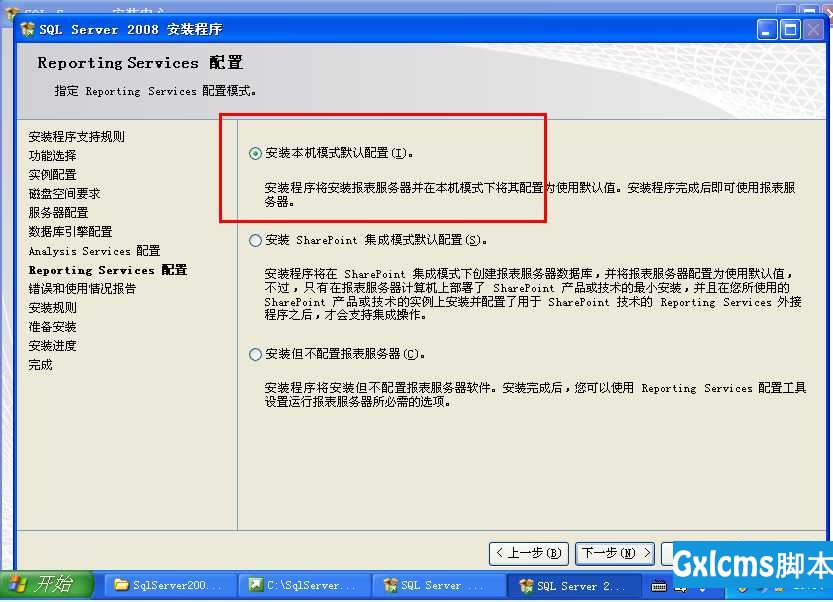
26."下一步"
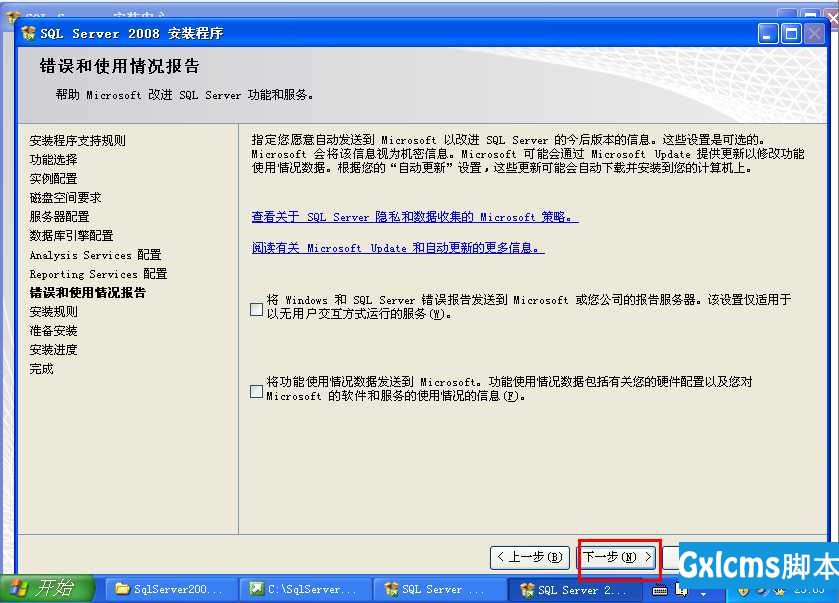
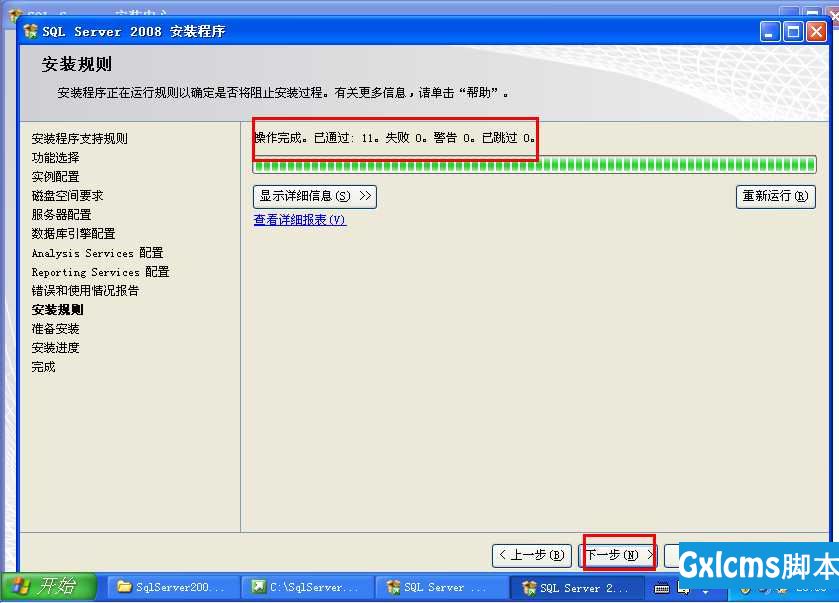
27.没有"失败","下一步"
28.直接"安装"
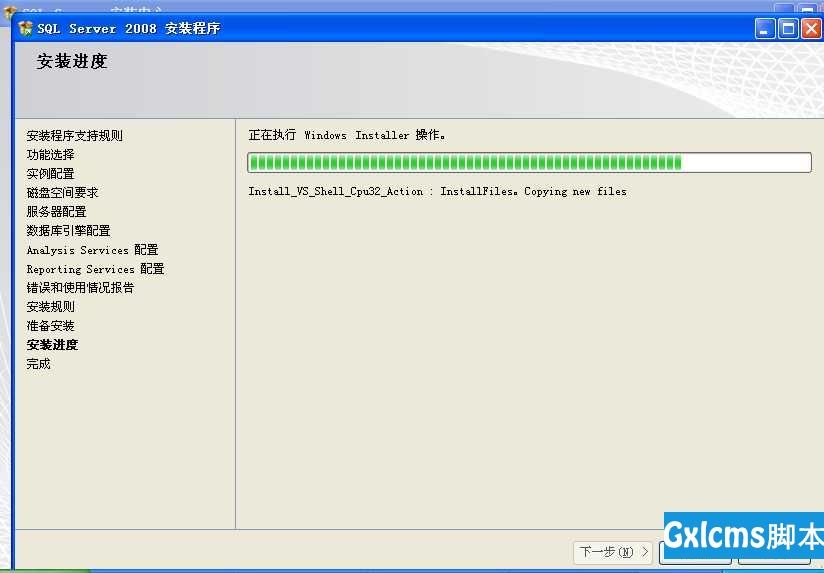
29.静待安装完成.
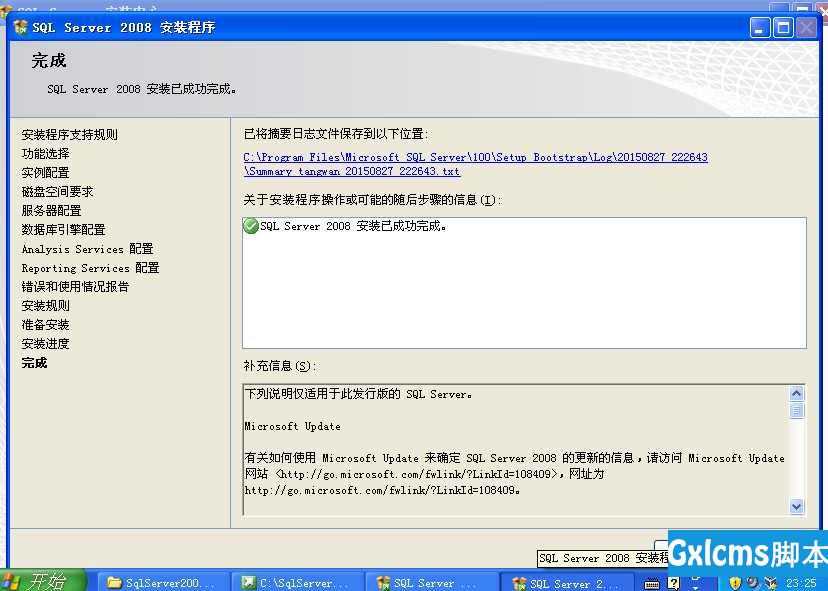
30."下一步"-->"关闭"
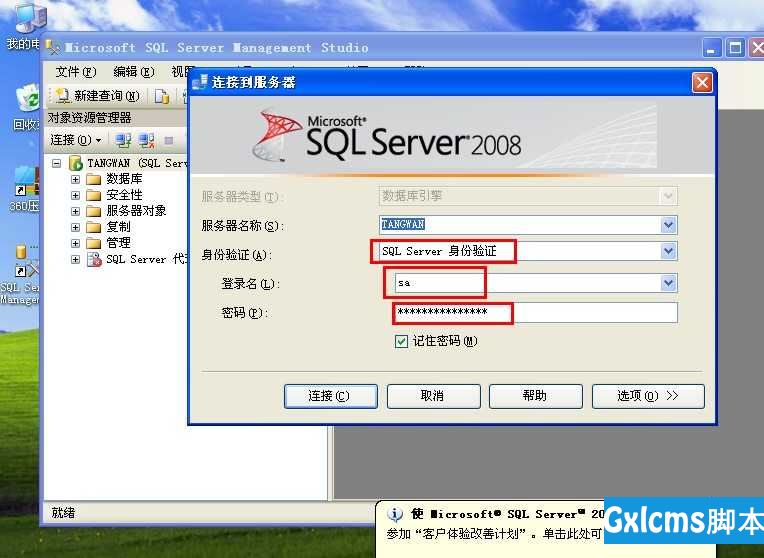
31.打开客户端工具
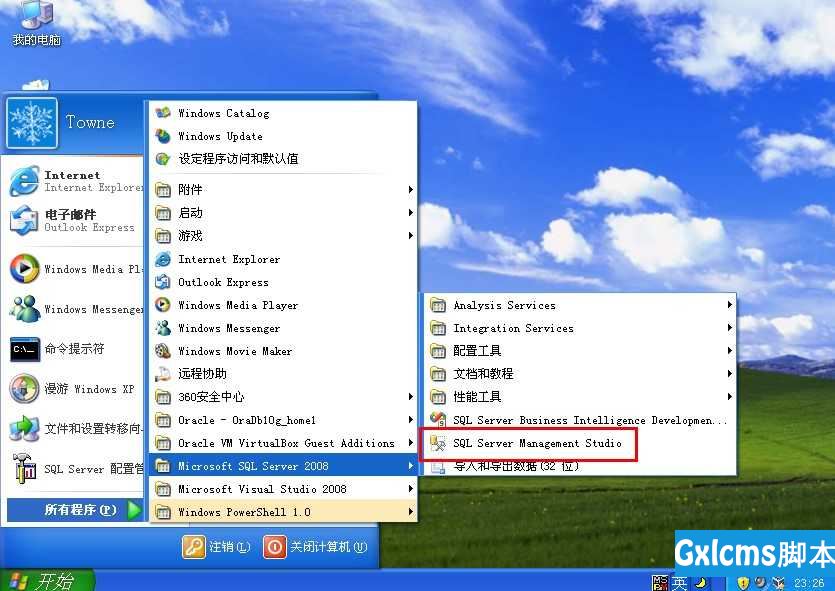
32.连接方式,可以windows 身份验证,或者SQL Server验证 sa/root
来自为知笔记(Wiz)
安装Oracle 10g和SQLServer2008(仅作学习使用VirtualBox虚拟机来安装节省电脑资源)
标签: