Photoshop制作一只可爱的卡通猴子
时间:2021-07-01 10:21:17
帮助过:37人阅读
本教程介绍简单的动物的制作方法。效果图有点水晶风格的味道。制作的时候只需要用钢笔勾出猴子各部分的选区,适当填充颜色再加点高光。整体效果就出来了。
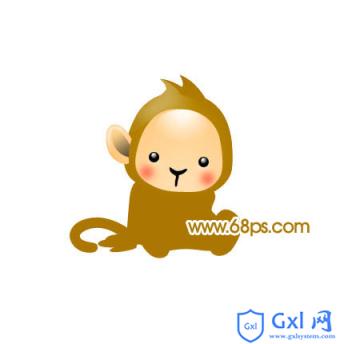
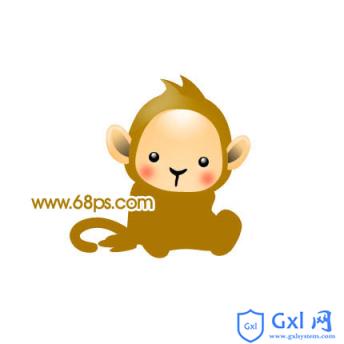
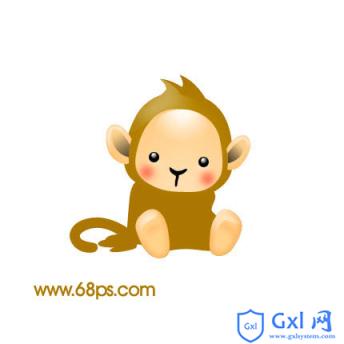
最终效果

1、新建一个600 * 600像素的文件,背景填充白色。新建一个图层,用钢笔勾出猴子的轮廓,转为选区如图1,然后填充颜色:#AC7700,效果如图2。
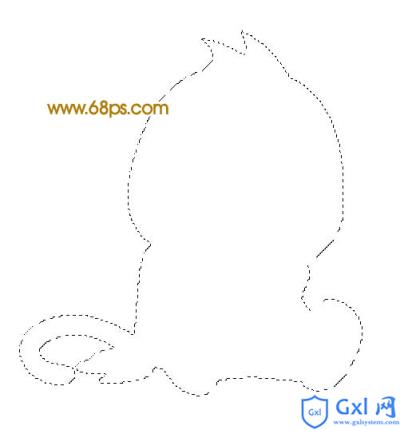
<图1>

<图2> 2、用钢笔工具把猴子的头部选取出来,如图3,按Ctrl + J 复制到新的图层。

<图3>
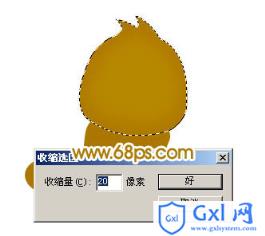
3、调出猴子头部选取,执行:选择 > 修改 > 收缩,数值为20,确定后按Ctrl + Alt + D 羽化15个像素,然后新建一个图层填充颜色:#B78700,效果如图5。
<图4>

<图5> 4、新建一个图层,用钢笔勾出图6所示的选区,填充颜色:#D2B565,取消选区后加上图层蒙版,用黑色画笔把边缘部分涂掉,效果如图7。

<图6>

<图7>
5、新建一个图层,用钢笔勾出猴子脸部的选区,如图8,拉上图9所示的径向渐变色,效果如图10。

<图8>

<图9>

<图10> 6、新建一个图层,用钢笔勾图11所示的选区,填充白色。加上图层蒙版把底部涂出透明度效果,效果如图12。

<图11>

<图12>
7、新建一个图层,用椭圆选框工具拉一个小的正圆,填充黑色,然后用白色画笔点上高光,另一只眼睛的制作方法相同,效果如下图。

<图13> #p# 8、新建一个图层,制作鼻子部分,效果如下图。

<图14> 9、新建一个图层,把前景颜色设置为:#FF7B58,选择画笔工具,给猴子点上腮红,效果如下图。

<图15>
10、新建一个图层,用钢笔勾出耳朵部分选区,填充颜色:#FFCB85,确定后用白色画笔涂一点高光,效果如图17。

<图16>

<图17> 11、新建一个图层,用钢笔勾出图18所示的选区,拉上渐变色,效果如图19。

<图18>
<图19>
12、同样的方法制作另一只耳朵。
<图20> 13、同样的方法制作其它部分,如图21 - 23。
<图21>
<图22>
<图23>
14、最后加点投影,完成最终效果。
<图24>