Photoshop一只可爱的小蜗牛方法
时间:2021-07-01 10:21:17
帮助过:59人阅读
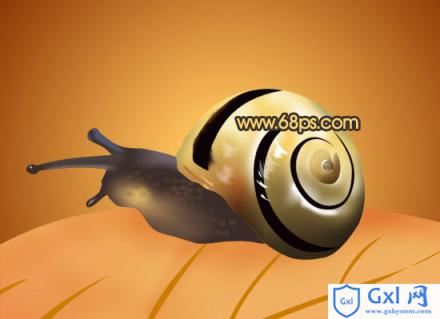
本教程介绍可爱的小动物的制作方法。由于小动物的构成非常简单,制作的时候也非常容易。蜗牛大致由两大部分构成壳和头。只要稍微掌握好画笔工具,就可以迅速画出来。
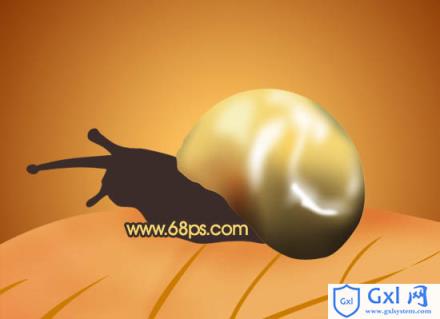
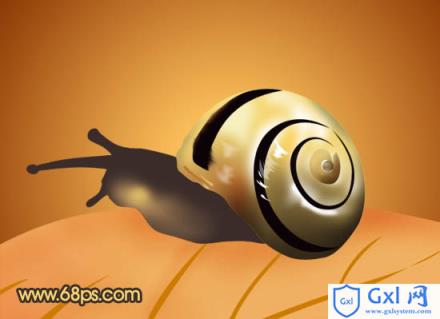
最终效果

1、新建一个800 * 600像素的文件,选择渐变工具,颜色设置如图1,拉出图2所示的径向渐变作为背景。

<图1>

<图2> 2、新建一个图层,用钢笔勾出半边叶子的选区填充颜色:#EFAE5F,再加上叶脉和暗调部分,效果如下图。

<图3>
3、新建一个图层,命名为“壳”,用钢笔勾出下图所示的选区,填充颜色:#F7D571。
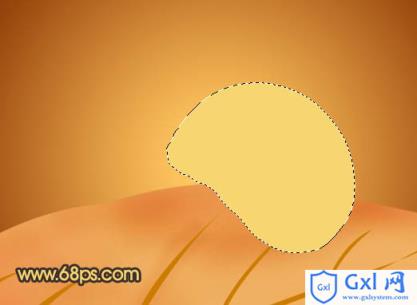
<图4>
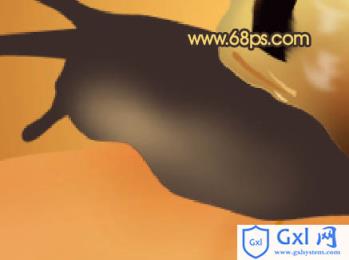
4、在当前图层下面新建一个图层,命名为“头”。用钢笔勾出下图所示的选区,填充颜色:#3B2C29。
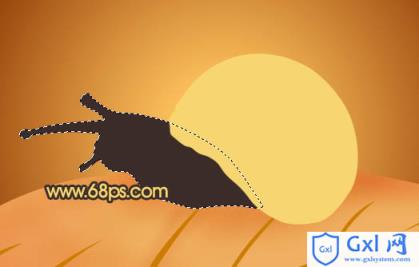
<图5> 5、回到“壳”图层,锁定图层,把前景颜色设置为:#2D2214,选择画笔工具,画笔不透明度设置为:10%,然后把“壳”的暗调部分涂出来,效果如下图。
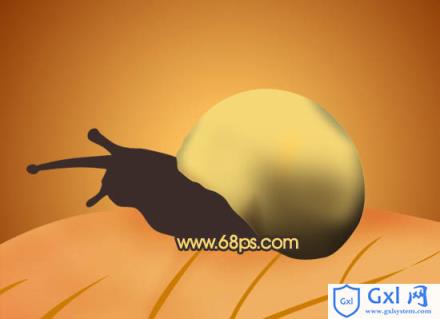
<图6>
6、把前景颜色设置为深红色,用画笔把“壳”的左下方涂上一些环境色,效果如下图。
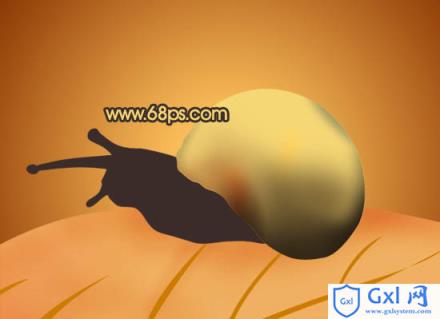
<图7>
7、新建一个图层,把前景颜色设置为白色,然后用画笔涂上高光,效果如下图。
<图8> 8、新建一个图层,用钢笔勾出纹理部分的选区填充黑色,如下图。
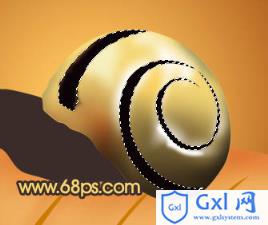
<图9> #p# 9、新建一个图层,用钢笔勾出下图所示的选区,填充颜色:#BBA05D,用加深,减淡工具涂出暗部和亮部,效果如下图。

<图10>
10、同上的方法,新建一个图层,用钢笔勾出下图所示的选区,填充颜色:#91764B,用加深,减淡工具涂出暗部和亮部,效果如下图。
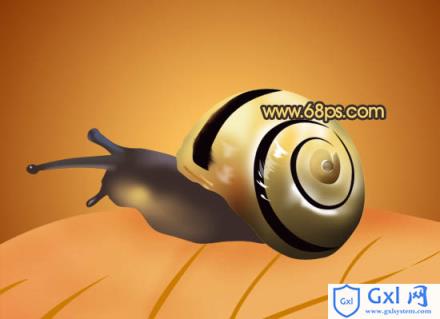
<图11> 11、新建一个图层,用画笔加上一些白色反光,效果如下图。“壳”部分基本完成。
<图12>
12、回到“头”图层,锁定图层后把前景颜色设置为:#A18560,用画笔稍微涂上一些高光,如图13。然后再用亮一点的颜色涂亮一点,效果如图14。
<图13>
<图14> 13、用钢笔勾出下图所示的选区,选择减淡工具稍微加亮一点。

<图15>
14、同样的方法制作其它的高光部分,效果如下图。
<图16>
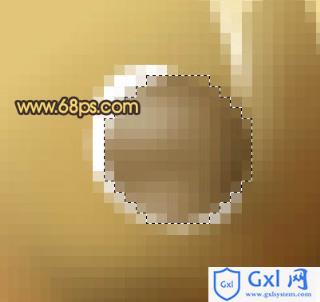
15、新建一个图层,选择椭圆选框工具拉一些小椭圆选区如下图,填充颜色:#533E33,取消选区后加上图层蒙版,用黑色画笔把边缘部分涂掉,效果如图18。
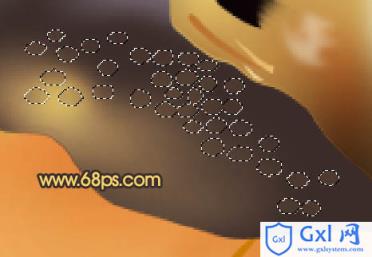
<图17>
<图18> 16、新建一个图层,用1像素的画笔点上一些小点,效果如下图。
<图19>
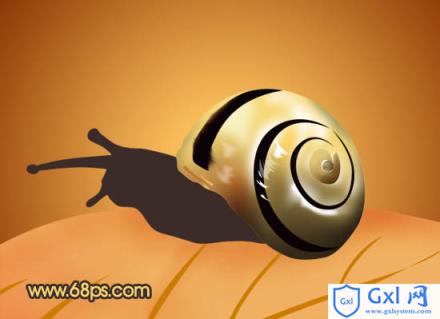
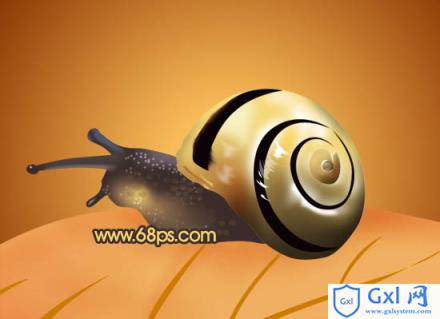
17、最后给蜗牛加上一些投影,完成最终效果。
<图20>