为照顾新朋友,教程写的比较详细,其实制作过程很简单,很适合初学者练习喔~
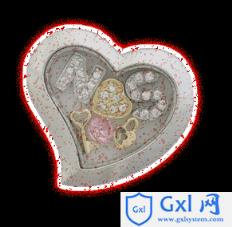
先来看下效果:
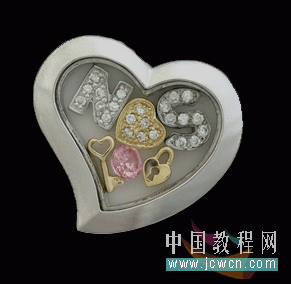
素材:
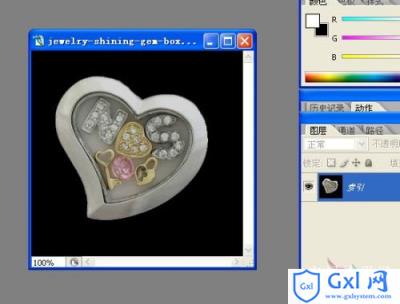
1、首先打开PS,然后选择“文件——打开”打开素材图片
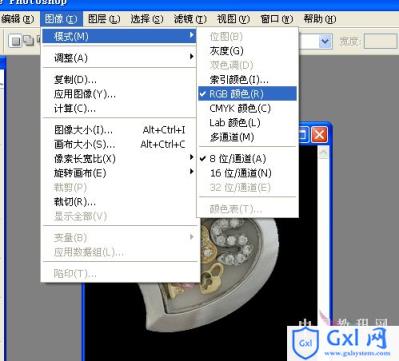
因为刚打开的素材图片是索引颜色的,不能编辑,所以,选择“图像——模式——RGB颜色”
现在图像可以用了,按Ctrl+J复制图层,出现图层1
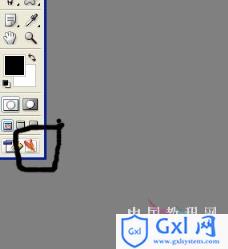
2、现在要把中间的宝石盒单独抠出来,这是一张全黑背景的,所以非常好抠,直接用魔术棒就可以了。选择魔术棒工具,在黑色背景上点一下,就把黑色背景全选起来了~
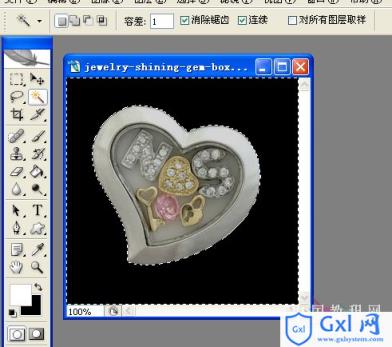
3、选起来的背景是不要的,所以,按下Delete键删掉背景吧,然后,在这个图层下面,新建一个图层,填充黑色
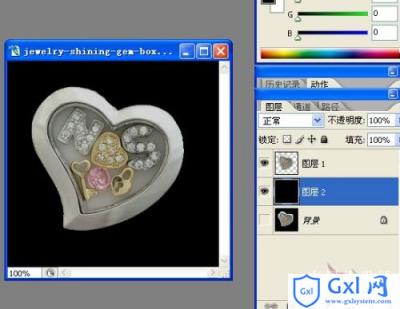
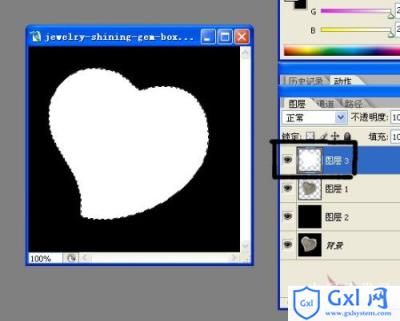
4、好了,现在,按住Ctrl不放,用鼠标点下图层1,把宝石盒选起来后,点下下面的新建图层按钮,新建图层3
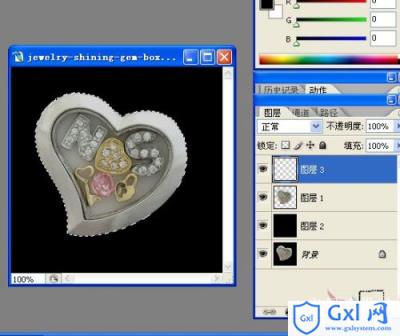
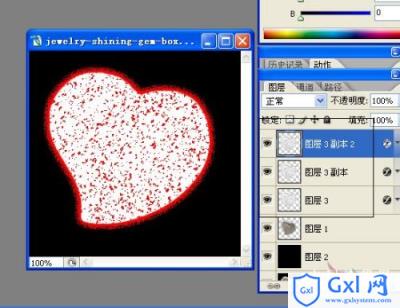
5、选择“选择——修改——扩展”,把选区扩展5个像素
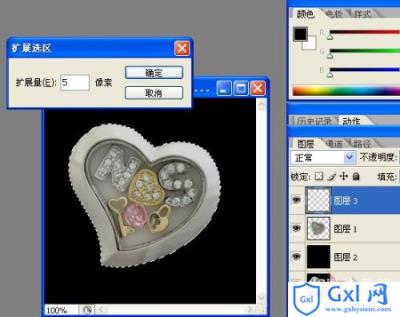
6、这时候,确定图层3为选中状态,把选区填充为白色
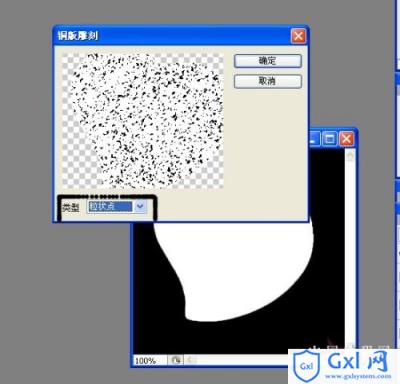
7、选择“滤镜——像素化——铜板雕刻”,类型选择“粒状点”

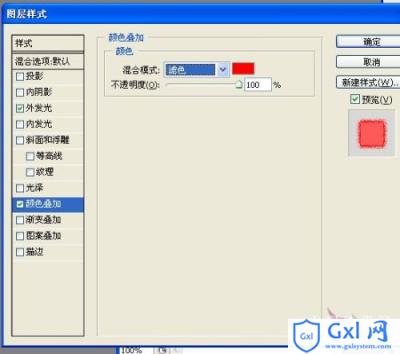
8、下面,双击图层3打开图层样式对话框,选择外发光,如图设置,(颜色可以按自己喜好定)
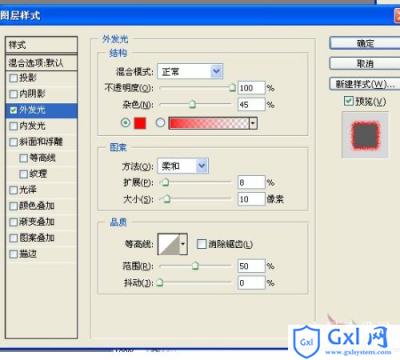
再把颜色叠加也勾上,颜色叠加里面的颜色要和外发光的一样喔,至少要相近似的,混合模式为滤色
9、好了,这样,一个颜色就弄完了,把这个图层复制多两份
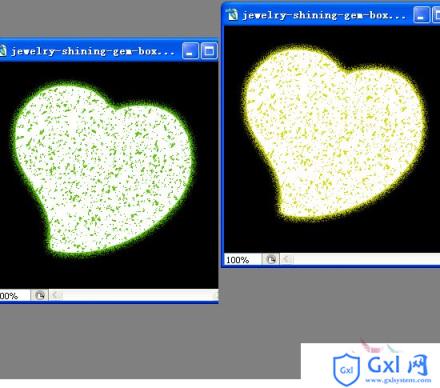
10、这样,我们只要双击图层,就能改颜色了,把另外两个图层分别双击打开图层样式对话框,把外发光和叠加颜色改成绿色和黄色,这样就做多出两个颜色层了~
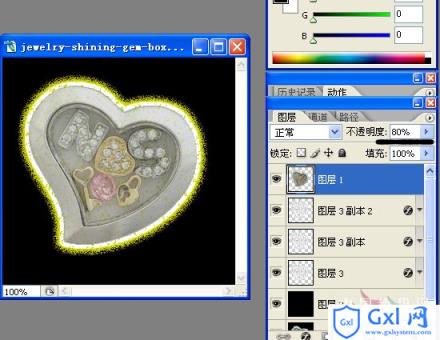
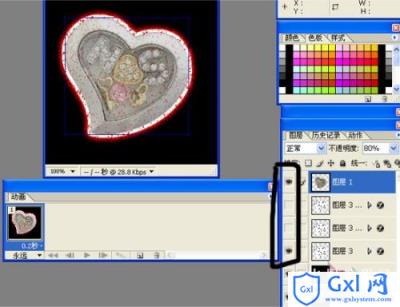
11、好了,把宝石盒那一层,也就是图层1移到最上面,不透明度改为80%
好了,做的做完了,下面该动画了,动画相对简单喔~
12、选择“文件——在ImageReady中编辑”或是直接点工具栏下面的跳转按钮,转到IR里进行动画编辑(注:PSCS2和以前版本才有IR喔,CS3的就直接点窗口——动画进行编辑吧~)
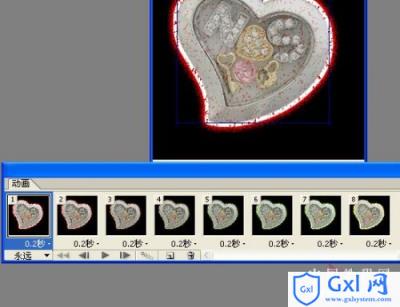
13、到ImageReady里面后,第一帧动画保留红色的图层,把绿色和黄色图层的眼睛关掉,也就是先隐藏起来
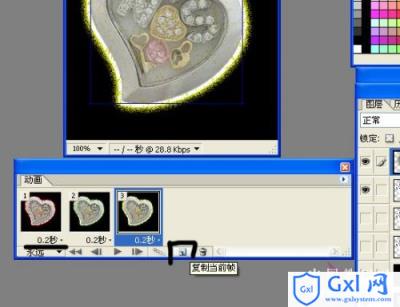
14、然后点下动画那里的复制帧,复制出来的第二帧把红色图层关掉,换绿色的点上眼睛,再复制第三帧,一样,换上黄色,再把时间设置为0.2,也就是0.2秒一帧
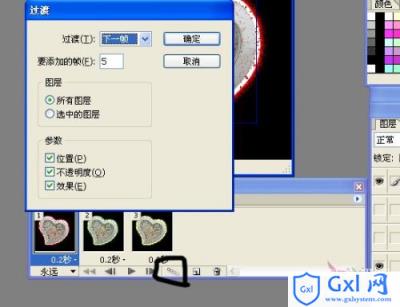
15、选中第一帧,记着要选中第一帧喔,然后点一下过度按钮,设置如下,确定
好了,大功告成了,可以测试下了~
16、没问题就选择“文件——将优化结果存储为”把动画保存成GIF图片吧!