PhotoshopCS5下合并到HDRPro命令
时间:2021-07-01 10:21:17
帮助过:89人阅读
使用“合并到HDR Pro”命令,可以创建写实的或超现实的“HDR”图像。
2. 增强的“合并到HDR Pro”命令
使用“合并到HDR Pro”命令,可以创建写实的或超现实的“HDR”图像。借助自动消除叠影以及对色调映射,可更好的调整控制图像,以获得更好的效果,甚至可使单次曝光的照片获得“HDR”图像的外观。
(1)启动Photoshop CS5,执行“文件”→“自动”→“合并到HDR Pro”命令,在打开的对话框中单击“浏览”按钮,如图1-1所示。
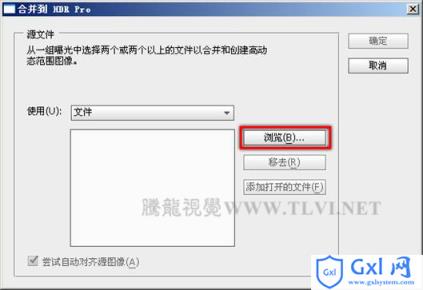
图1-1
(2)此时打开“打开”对话框,选择需要合并的图像,如图1-2所示。
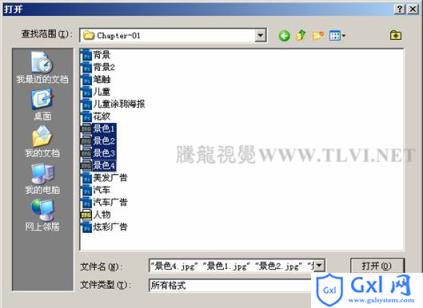
图1-2
(3)然后单击“打开”按钮,返回到“合并到HDR”对话框,如图1-3所示将选择的文件载入。

图1-3
(4)确认“尝试自动对其源图像”复选框为选择状态,单击“确定”按钮,将选择的图像分为不同的图层载入到一个文档中,并自动对其图层,如图1-4所示。
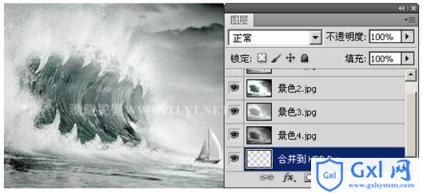
图1-4
(5)经过Photoshop一段时间的处理,打开“手动设置曝光值”对话框,如图1-5所示。
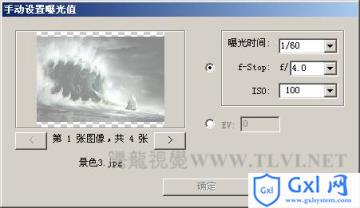
图1-5
(6)
在对话框中单击 按钮察看图像,并选择“EV”选项,如图1-6所示。
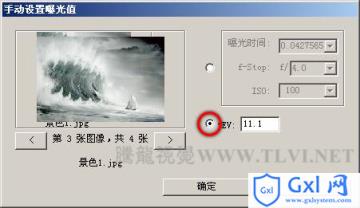
图1-6
(7)
单击“确定”按钮,打开“合并到HDR”对话框,如图1-7所示。 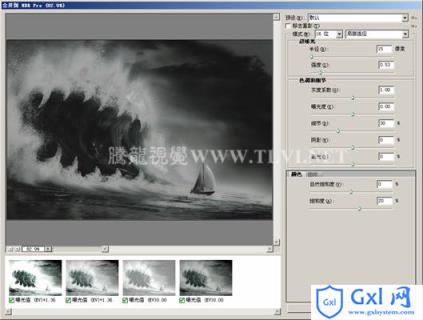
图1-7
(8)在对话框中选择“移去重影”复选项,然后设置对话框中的其他设置,以合成高质量的图像效果,如图1-8所示。
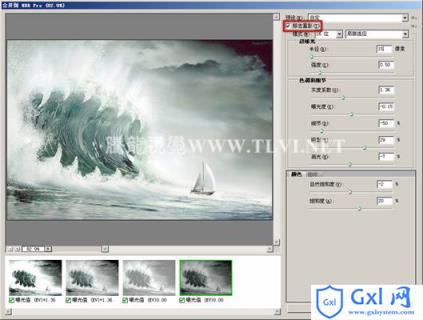
图1-8
(9)设置完毕后单击“确定”按钮,关闭对话框,完成图像的合成,效果如图1-9所示。

图1-9