Photoshop打造非常经典的黄金头像
时间:2021-07-01 10:21:17
帮助过:98人阅读
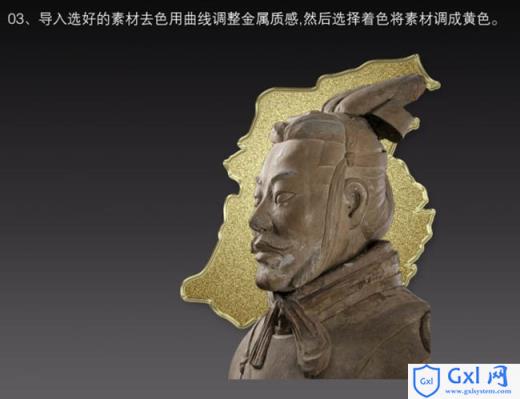
本教程介绍非常华丽的黄金铸造物体的制作方法。大致过程:先把素材图片去色并用曲线加强对比,然后用色相/饱和度调成金色调,然后通过多层叠加等做出非常有质感的金色调。最后再整体调色即可。教程部分细节没有详细说明,制作的时候需要自己慢慢去摸索。
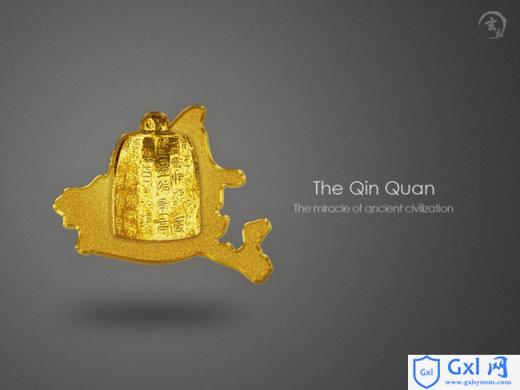
最终效果

其它效果


1、新建一个900 * 675像素的文档,背景拉上灰色至深灰色渐变。新建一个图层,用钢笔工具勾出下图所示的路径。
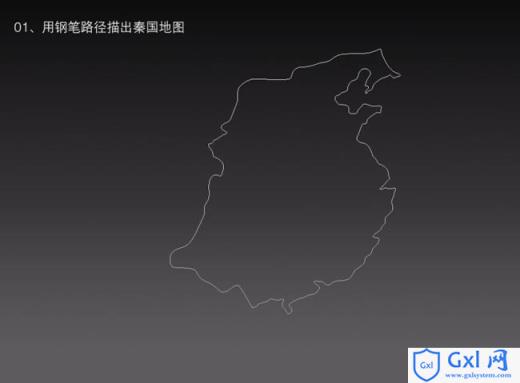
<图1>
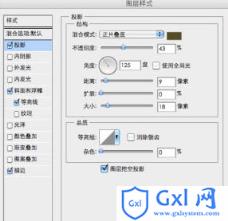
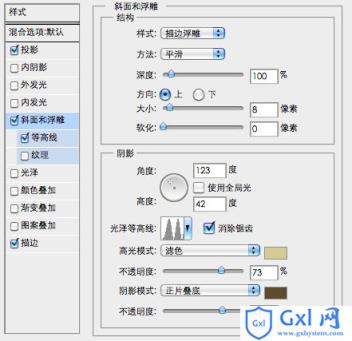
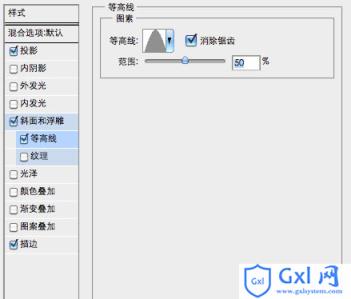
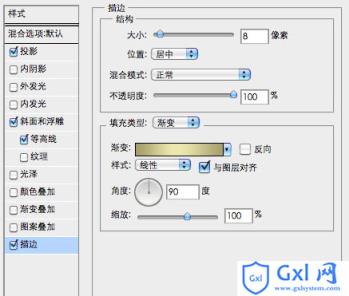
2、把路径转为选区后加上金色渐变,适当加大杂色(滤镜 > 杂色 > 添加杂色)。然后再设置图层样式,分别添加投影,斜面与浮雕,等高线,描边,参数设置如图3 - 6,效果如图2。
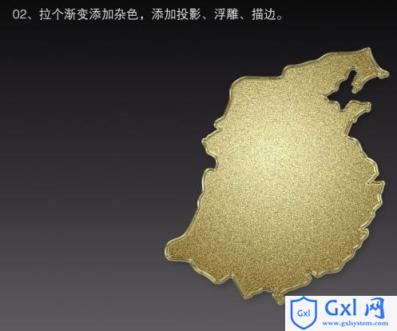
<图2>
<图3>
<图4>
<图5>
<图6>
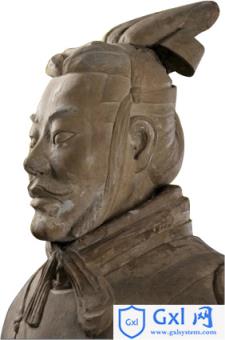
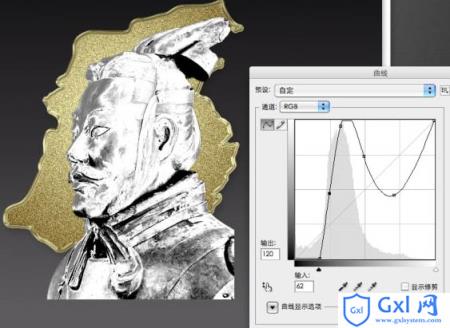
3、打开图7所示的素材,用魔术棒抠出来,拖进来放到刚才做好的图形上面,适当放好位置。
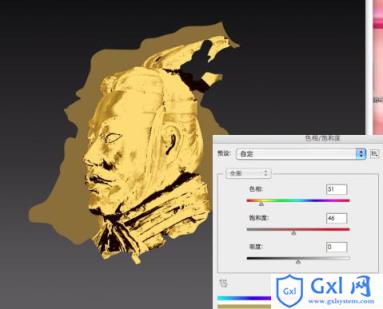
按Ctrl + M 对素材调整曲线,参数设置如图9,确定后按按Ctrl + U 调整色相/饱和度,记得勾选着色选项,调成金色效果,如图10。
<图7>
<图8>
<图9>
<图10>
4、将头像素材复制一层,锁定原头像图层后填充一种黄金色中比较重一点的颜色做底色。再把头像副本图层复制3层,分别设置图层混合模式为“叠加”,“正片叠底”,“柔光”。

<图11>
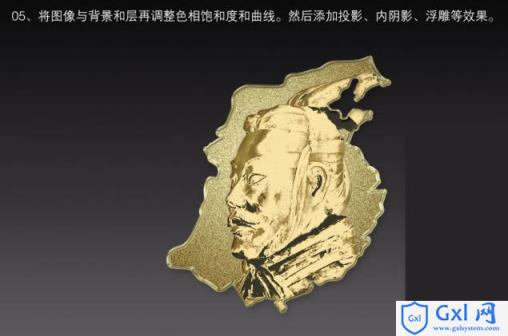
5、把头像相关的几个图层合并,再调整色相/饱和度及曲线。然后添加图层样式,分别设置投影,内阴影,斜面与浮雕效果,参数设置如图13 - 15。
<图12>
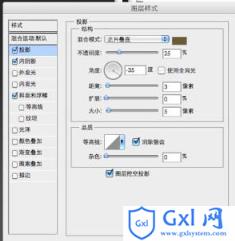
<图13>
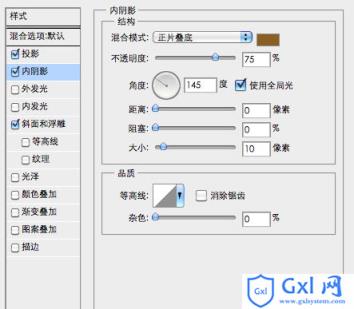
<图14>
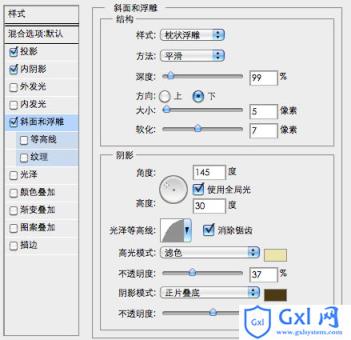
<图15>
6、把地图背景复制一层,按Ctrl + Shift + ] 置顶,锁定图层后填充颜色:#8A6F38,图层混合模式改为“叠加”。
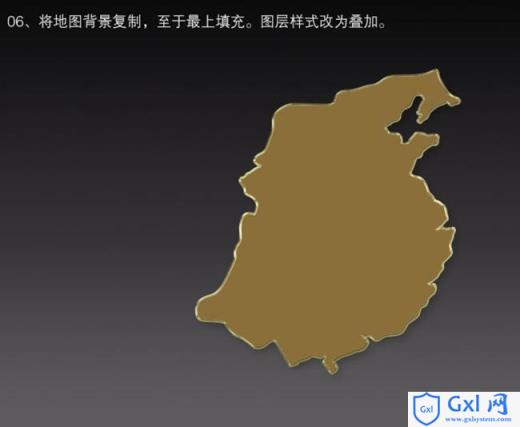
<图16>
7、把当前图层复制一层,描边,将图层填充改为:0%,然后把图层混合模式改为“叠加”,完成最终效果。
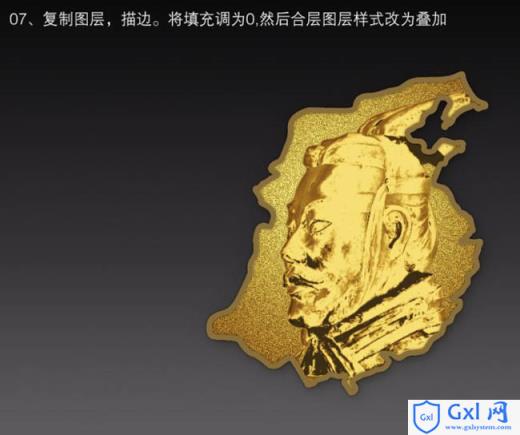
<图17>
最终效果: