绸缎在设计中应用是非常广泛的,飘逸并带有古典韵味,可以给作品增色不少。单独制作一条绸缎也并不难,首先需要构思造型,要把飘逸的感觉渲染出来,可以多找一些实物图来参考,然后再刻画表面的质感即可。
最终效果

1、效果图是对称图形,制作的时候只需要完成一半即可,需要制作的效果如下图。

<图1>
2、新建一个1024 * 768像素的文档,背景填充淡绿色:#ECFEF0,效果如下图。

<图2>
3、现在来制作丝带的中间位置,需要完成的效果如下图。

<图3>
4、新建一个组,用钢笔勾出下图所示的选区,然后给组添加图层蒙版,如下图。
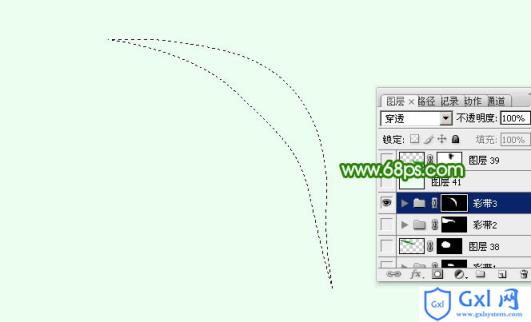
<图4>
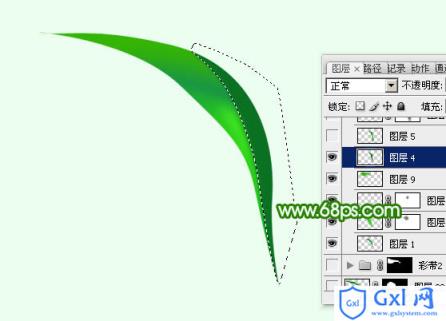
5、在组里新建一个图层,填充绿色:#189347,效果如下图。

<图5>
6、新建一个图层,用钢笔勾出右侧底部的高光区域,羽化6个像素后填充稍亮的绿色:#2CD018,如图6,取消选区后添加图层蒙版,用透明度较低的黑色画笔把顶部的过渡擦出来,效果如图7。
<图6>
<图7>
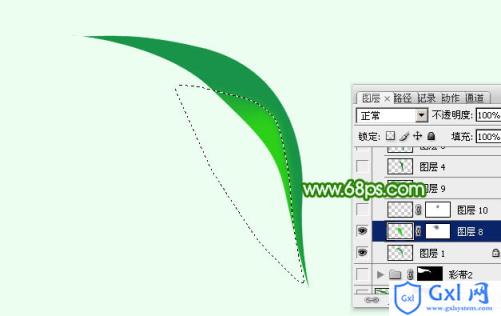
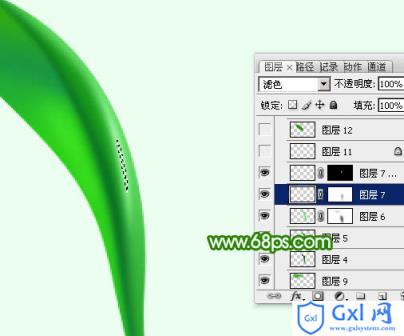
7、新建一个图层,用钢笔勾出高光中间的亮部选区,羽化3个像素后填充淡绿色,混合模式改为“滤色”,效果如下图。

<图8>
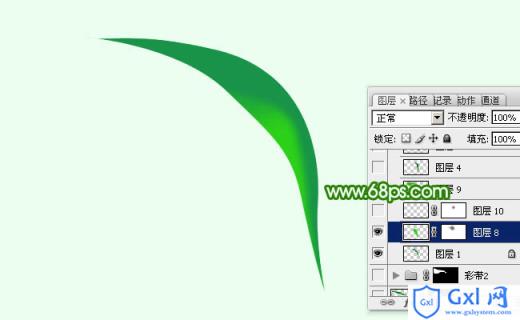
8、新建一个图层,用钢笔勾出顶部的高光选区,羽化30个像素后填充稍亮的绿色:#35B405,效果如下图。
<图9>
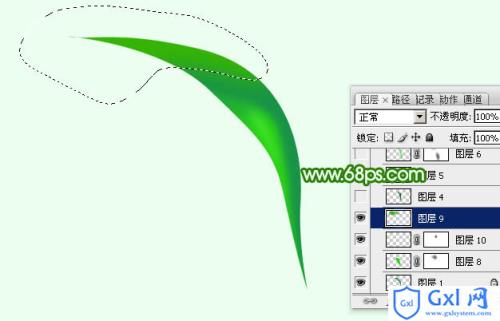
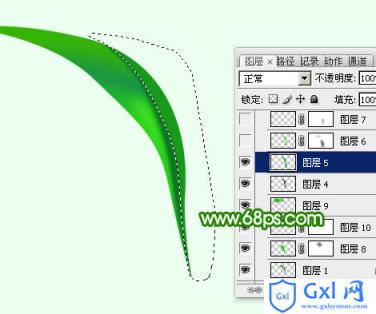
9、新建一个图层,用钢笔勾出中间暗部选区,羽化3个像素后填充暗绿色:#0A7122。
<图10>
10、新建一个图层,用钢笔勾出右边的高光选区,羽化5个像素后填充稍填充绿色:#18991B,如下图。
<图11>
11、新建一个图层,用钢笔勾出右侧边缘高光选区,羽化6个像素后填充稍亮的绿色:#62DC65,如下图。

<图12>
12、新建一个图层,用钢笔勾出右侧中间高光选区,羽化2个像素后填充浅绿色,混合模式改为“滤色”,如下图。
<图13>
13、新建一个图层,用钢笔勾出顶部下侧的暗部选区,羽化6个像素后填充暗绿色:#2F9602,如下图。
<图14>
14、新建一个图层,用钢笔勾出中间的暗部选区,羽化1个像素后填充暗绿色,过渡不自然的部分可以用蒙版修饰一下。
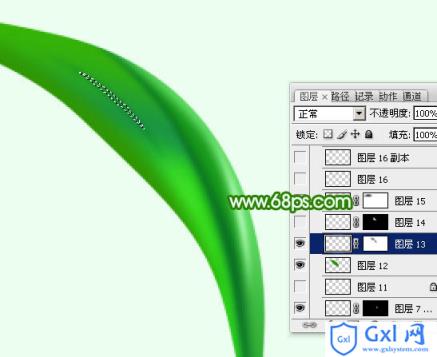
<图15>
15、新建一个图层,用钢笔勾出底部边缘的高光选区,羽化1个像素后填充绿色:#38D925,如下图。
<图16>
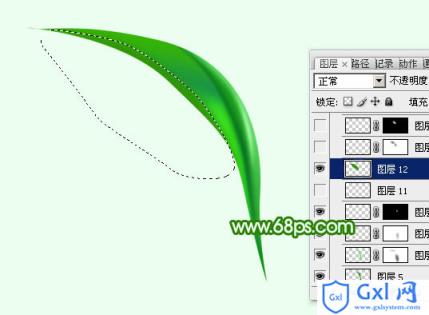
16、新建一个图层,用钢笔勾出顶部高光选区,羽化5个像素后填充稍亮的绿色,如下图。

<图17>
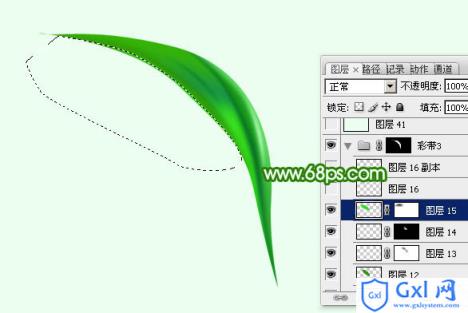
17、在当前组下面新建一个组,用钢笔勾出第二段丝绸选区,再给组添加图层蒙版,如下图。
<图18>
18、在组里新建一个图层,填充绿色,如下图。
<图19>
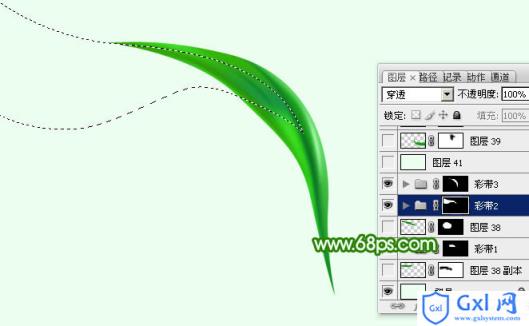
19、新建一个图层,同上的方法制作其他高光和暗部,过程如图20 - 23。
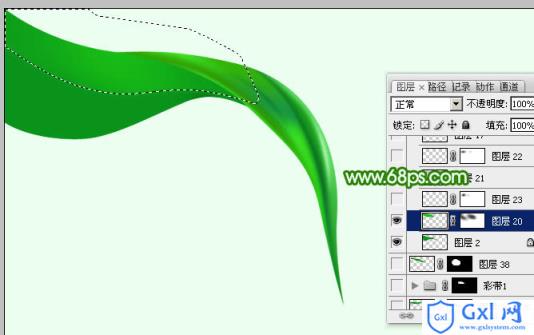
<图20>

<图21>

<图22>

<图23>
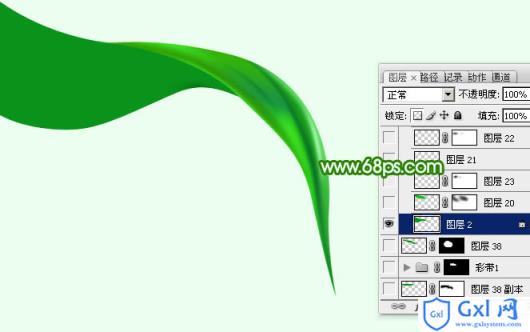
20、同上的方法制作其他部分的丝绸,效果如图24,25。

<图24>

<图25>
最后把做好的丝绸复制后对接一下,完成最终效果。
以上就是Photoshop设计制作出非常飘逸的绿色绸缎的内容,更多相关内容请关注PHP中文网(www.gxlcms.com)!