Photoshop设计制作出光滑的红色立体心形
时间:2021-07-01 10:21:17
帮助过:67人阅读
立体心形相对来说比较容易刻画,只需要了解清爽高光及暗部的构成。然后由底层开始制作,逐层把立体感渲染出来。注意好过渡自然即可。
最终效果

1、新建一个800 * 600像素的文档,背景选择白色。新建一个组,用钢笔勾出心形的轮廓,转为选区后给群添加图层蒙版,如下图。

<图1>
2、在组里新建一个图层,选择渐变工具,颜色设置如图2,拉出图3所示的径向渐变。
<图2>

<图3>
3、新建一个图层,用钢笔勾出右侧高光选区,羽化25个像素后填充稍亮艳丽的红色:#F70E1E,如下图。
<图4>
4、新建一个图层,用钢笔勾出右侧边缘高光选区,羽化20个像素后填充橙黄色:#FEA409,如下图。
<图5>
5、新建一个图层,用钢笔勾出左侧底部高光选区,羽化25个像素后填充橙黄色:#FEA409。

<图6>
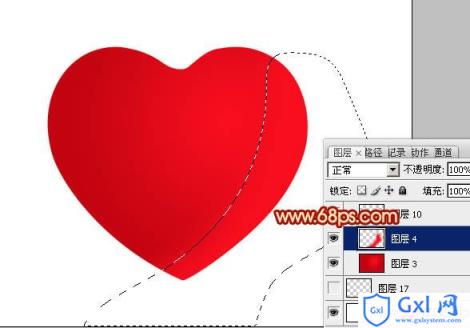
6、新建一个图层,用钢笔勾出左侧高光选区,羽化25个像素后填充红色:#F70E1E,如下图。

<图7>
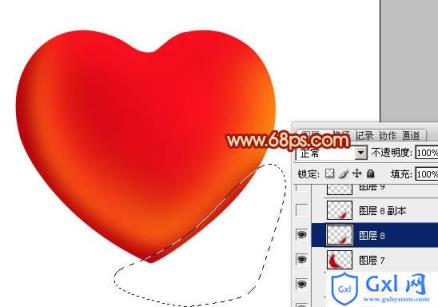
7、新建一个图层,用钢笔勾出顶部高光选区,羽化25个像素后填充红色:#F70E1E,如下图。
<图8>
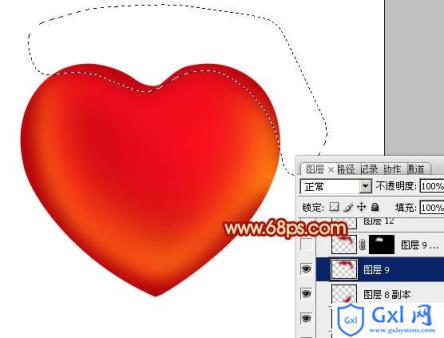
8、新建一个图层,用钢笔勾出左侧边缘高光选区,羽化20个像素后填充橙黄色:#FFA912。

<图9>
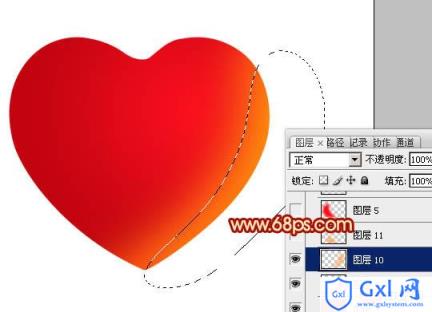
9、新建一个图层,用钢笔勾出左侧边缘暗部选区,羽化20个像素后填充暗红色:#B5010D,如下图。

<图10>
10、新建一个图层,用钢笔勾出右侧底部暗部选区,羽化20个像素后填充暗红色。
<图11>
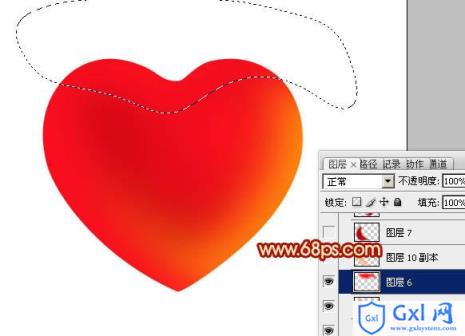
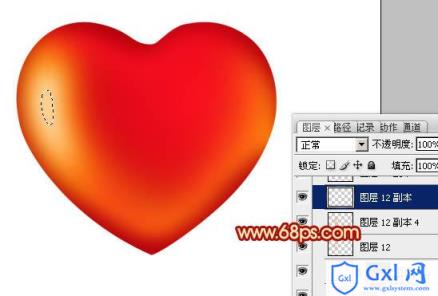
11、新建一个图层,用钢笔勾出顶部暗部选区,羽化15个像素后填充暗红色。
<图12>
12、新建一个图层,用钢笔勾出左侧中间高光选区,羽化15个像素后填充橙黄色。

<图13>
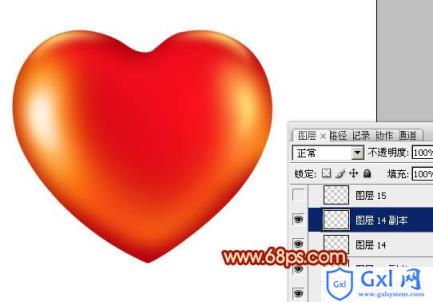
13、新建一个图层,新建一个图层,同上的方法加强一下高光部分的强度,中间部分涂上淡黄色,过程如图14 - 15。
<图14>

<图15>
14、新建一个图层,同上的方法制作右侧中间的高光部分,如图16,17。

<图16>

<图17>
15、顶部的高光制作方法同上,过程如图18 - 20。

<图18>
<图19>

<图20>
16、在背景图层上面新建一个图层,简单加上一点投影,效果如下图。

<图21>
17、可根据需要把整体稍微柔化处理,方法任选。

<图22>
最后调整一下细节,完成最终效果。
<图23>