Photoshop打造斑斓的光影圣诞树
时间:2021-07-01 10:21:17
帮助过:85人阅读
本教程介绍较为抽象的光影圣诞树的制作方法。大致过程:先分好大致的层次,然后从铺底色开始,用一些色块或光斑来装饰圣诞树。最后再加上一些曲线光束即可。
最终效果

1、新建一个600 * 800像素的文档,背景填充黑色。新建一个图层,把前景颜色设置为:#FA2B04,选择画笔工具,画笔不透明度设置为:10%左右,然后按照圣诞树的形状简单涂出底色,涂抹的时候要均匀。大致效果如下图。
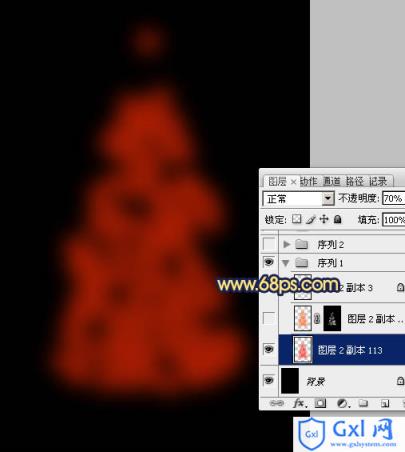
<图1>
2、新建一个图层,把前景颜色设置稍微亮一点的橙红色,把下图选区部分涂上高光。
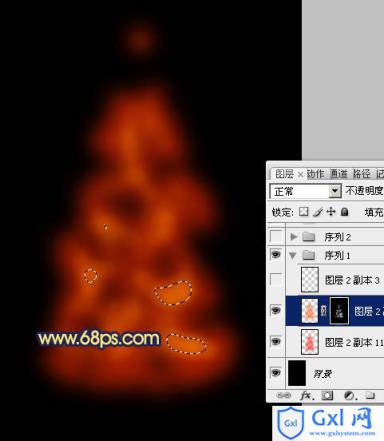
<图2>
3、新建一个图层,图层混合模式改为“颜色减淡”,不透明度设置为:30%,选择画笔工具,笔刷设置为圆形的,硬度设置为:100%,不透明度设置为100%。把前景颜色设置为红色,在底色上面加上一些小圆点,如下图。
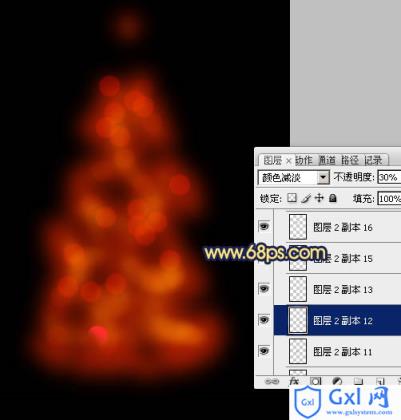
<图3>
4、新建一个图层,适当改变前景色,用画笔刷上一些橙色圆点,如下图。

<图4>
5、新建一个图层,同上的方法再刷上一些黄绿色的光斑。局部可以用橡皮工具擦掉透明效果,如下图。
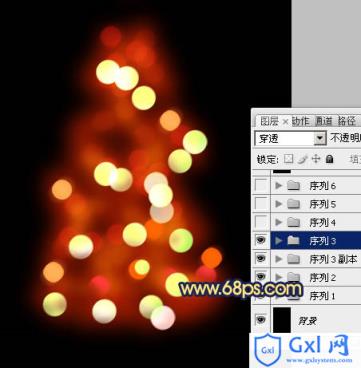
<图5>
6、新建一个图层,继续添加其它颜色光斑,效果如下图。

<图6>
7、新建一个图层,用钢笔工具勾出图7所示的选区,选择渐变工具,颜色设置如图8,拉出图9所示的径向渐变。

<图7>

<图8>

<图9>