Photoshop打造非常华丽的金色牡丹
时间:2021-07-01 10:21:17
帮助过:45人阅读
牡丹的花瓣较多,绘制之前最好是分清楚花瓣的顺序,然后由内之外,由前之后慢慢绘制花瓣。重点要把花瓣的金属质感渲染出来。
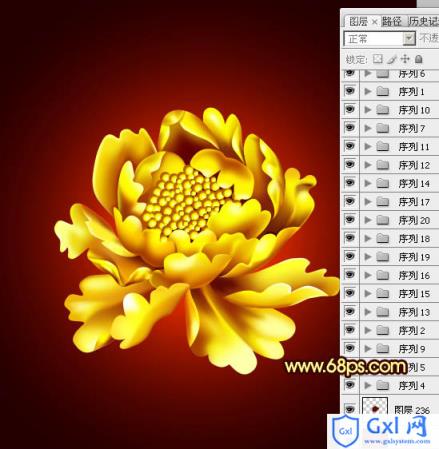
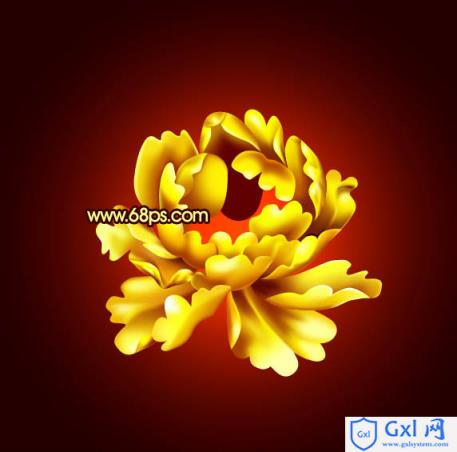
最终效果

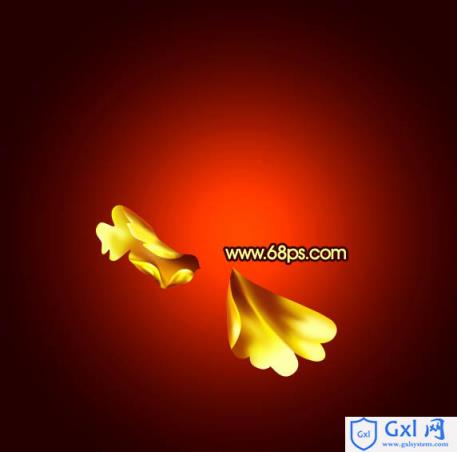
1、在制作之前需要把花朵的构造了解清楚,最好把花朵的每一片花瓣放到单独的一个组里面。这样方便修改和管理,需要完成的整体效果及图层参照如下图。
<图1>
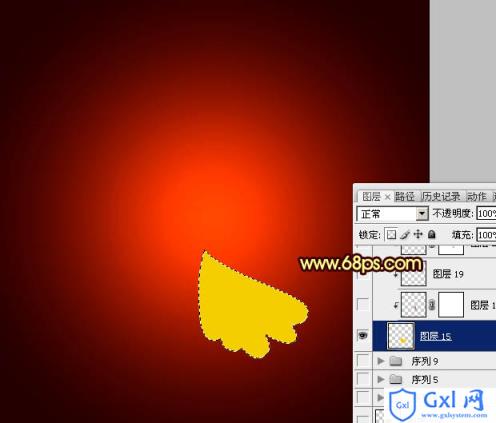
2、选择渐变工具,颜色设置如图2,由中间向边缘拉出图3所示的径向渐变。
<图2>

<图3>
3、新建一个组,现在开始制作第一片花瓣,也是最基础的。做好后,后面的花瓣制作方法基本相同。
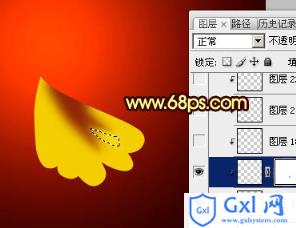
新建一个图层,用钢笔勾出花瓣的轮廓路径,转为选区后填充黄橙色:#F5CE01,效果如下图。
<图4>
4、新建一个组,按Ctrl + Alt + G 与前一图层编组。然后在刚才新建的图层下面新建一个图层(新建的图层会默认编组)。
用钢笔勾出花瓣右上部暗部的选区如图5,按Ctrl + Alt + D 羽化3个像素后填充褐色:#8F2706。取消选区后用涂抹工具把边缘稍微涂抹一下,过渡自然即可,效果如图6。

<图5>

<图6>
5、新建一个图层,用钢笔勾出中间高光部分的选区,羽化2个像素后填充比底色稍亮的橙黄色,效果如下图。
<图7>
6、新建一个图层,用钢笔勾出右边高光部分的选区,羽化4个像素后填充淡黄色,效果如下图。

<图8>
7、新建一个图层,继续用钢笔勾出右边高光部分的选区,羽化3个像素后填充稍暗的淡黄色,效果如下图。如果鼠绘功夫好的直接用画笔涂抹就可以。
<图9>
8、新建一个图层,继续制作右边高光部分,大致效果如下图。
<图10>
9、新建一个图层,用钢笔勾出左边暗调部分的选区,羽化1个像素后填充淡黄色:#CA9000。
<图11>
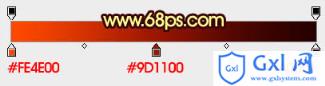
10、新建一个图层,用钢笔勾出图12所示的选区,选区略比底色图层小一点,羽化1个像素后拉上图13所示的线性渐变,效果如图14。

<图12>
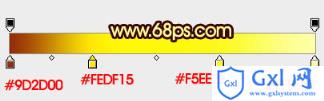
<图13>

<图14>
11、新建一个图层,用钢笔勾出左边上部的暗调部分,羽化1个像素后填充褐色,下不用淡褐色涂出高光,效果如下图。

<图15>
12、图16,17所示的暗部及高光只需要用画笔稍微涂抹一下即可。

<图16>

<图17>
13、卷边部分制作需要在图层的最上面新建一个图层,用钢笔勾出相应选区,填充横红色,如下图。
<图18>
14、同上的方法制作卷边部分的暗部和高光,过程如图19 - 21。

<图19>

<图20>

<图21>
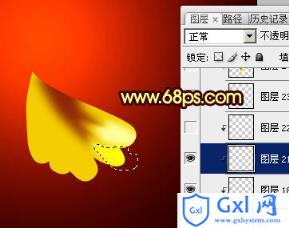
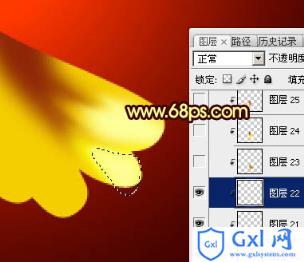
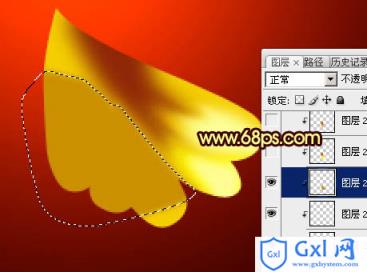
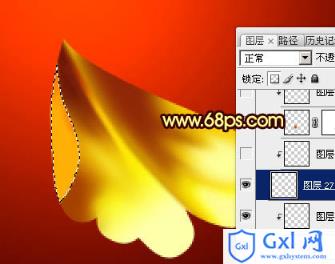
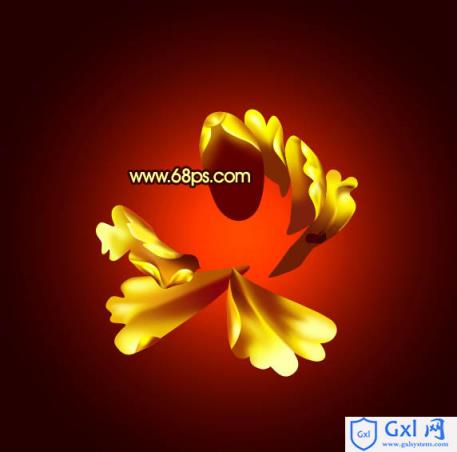
15、其它花瓣制作方法相同,每一片花瓣都需要新建一个组,并注意好花瓣的顺序排列和层次。过程如图22 - 28。
<图22>

<图23>
<图24>

<图25>
<图26>

<图27>
<图28>
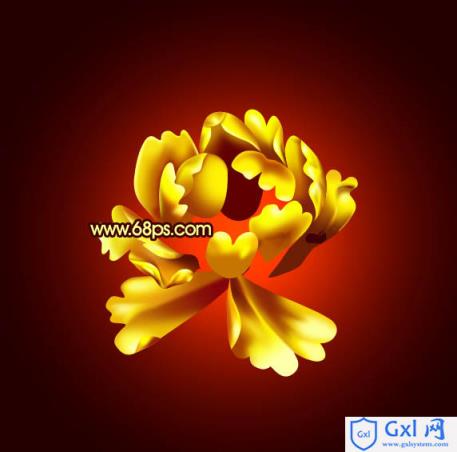
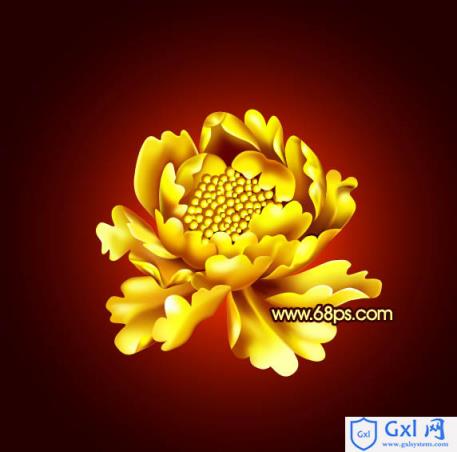
16、最后加上花蕊,花朵制作基本完成。
<图29>
最后调整一下细节和颜色,完成最终效果。
<图30>