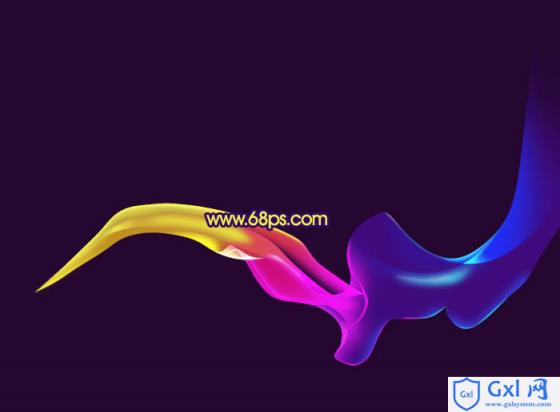
光束的构造可能较为复杂,有时候不知道从哪里入手。如果仔细观察以后,光束都是有规律可寻的,每一条光束都是有起点和终点的,而是都是整条的。分清以后再逐条或逐段制作就很方便了。
最终效果

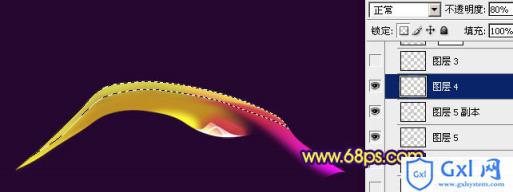
1、本教程的光束由于色彩构成较为复杂,制作的时候需要分段来完成,首先是制作头部,大致需要完成的效果如下图。

<图1>
2、新建一个1024 * 768像素的文档,背景填充黑色。新建一个组,在组里新建一个图层,用钢笔勾出图2所示的选区,填充颜色:#BF9023,取消选区后加上图层蒙版,用透明度较低的黑色画笔把顶部擦点过渡效果,如图3。

<图2>

<图3>
3、新建一个图层,按Ctrl + Alt + G 与前一个图层编组,然后在当前图层下面新建一个图层,用钢笔勾出下图所示的选区,羽化3个像素后填充黄色。
<图4>
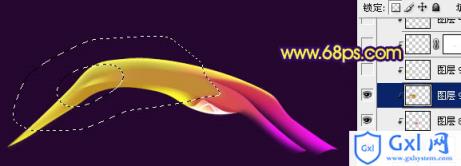
4、新建一个图层,用钢笔勾出边缘高光部分选区,羽化3个像素后填充黄色,如下图。
<图5>
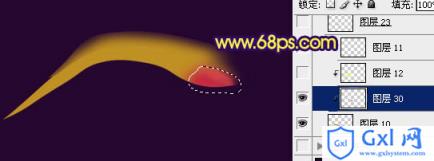
5、在图层的最上面,新建一个图层,用钢笔勾出右边折起的光束部分选区,填充颜色:#F16279。
<图6>
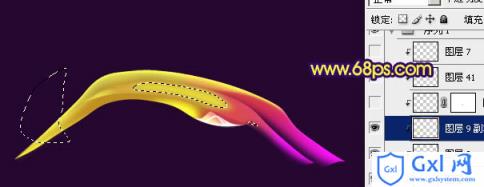
6、新建一个图层,按Ctrl + Alt + G 与前一个图层编组,然后在当前图层下面新建一个图层。用钢笔勾出下图所示的选区,羽化3个像素后填充颜色:#FAE19E。

<图7>
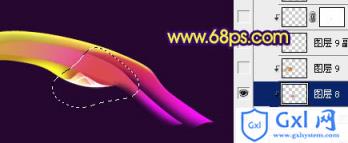
7、新建一个图层,用钢笔勾出底部反光部分的选区,羽化2个像素后填充颜色:#FCECA1。
<图8>
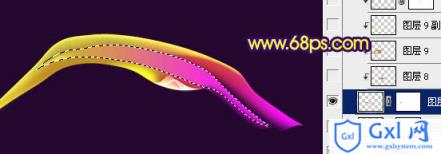
8、新建一个图层,用钢笔勾出边缘高光部分的选区,填充白色,如下图。
<图9>
9、新建一个图层,用钢笔勾出一条较小的曲线光束,填充白色,也可以用描边路径来完成,效果如下图。
<图10>
10、目前为止的效果图如下,如果有不太满意的部分可以重新修改。

<图11>
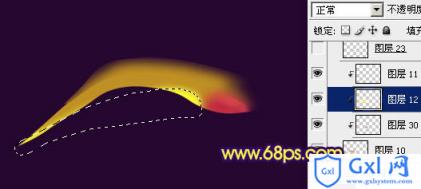
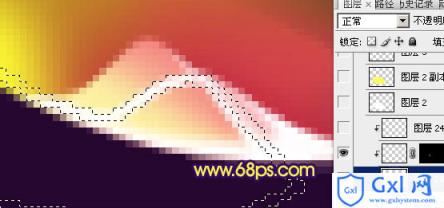
11、在图层的最上面新建一个图层,用钢笔勾出下图所示的选区,填充黄色。
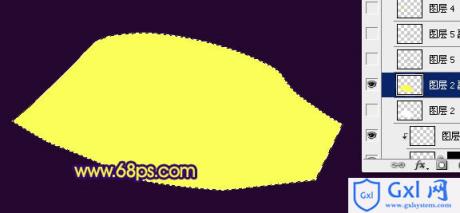
<图12>
12、用钢笔勾出选区右边的边缘部分,羽化6个像素后按Ctrl + J 把选区部分的图形复制到新建的图层,然后再加上红色至紫色的线性渐变。为了明显,这里隐藏了色块图层。

<图13>
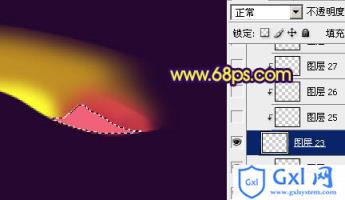
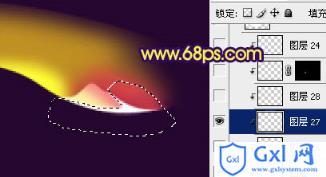
13、把色块显示出来,用钢笔勾出左上边边缘的选区,羽化3个像素后按Ctrl + J复制到新的图层,按Ctrl + Shift + ] 置顶,锁定不透明度后用红色画笔把右边涂上一些环境光。效果如下图。
<图14>
14、新建一个图层,用钢笔勾出边缘的高光选区,如图15,填充黄色,效果如图16。

<图15>

<图16>
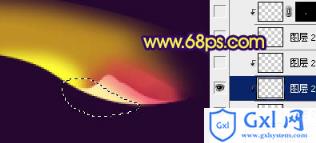
15、新建一个图层,用钢笔勾出下图所示的选区,拉上橙红色至紫色线性渐变。
<图17>
16、新建一个图层,按Ctrl + Alt + G 与前一图层编组,再在当前图层下面新建一个图层,用钢笔勾出下图所示的选区,羽化6个像素后填充红色。
<图18>
17、同上的方法用钢笔勾出下图所示的选区,羽化5个像素后填充暗黄色。
<图19>
18、新建一个图层,用钢笔勾出中间高光部分的选区,羽化3个像素后填充黄色,效果如下图。到这一步头部位置的光束基本完成。
<图20>
19、在背景图层上面新建一个组,下面再来制作位置光束部分。大致需要完成的效果如下图。

<图21>
20、新建一个图层,用钢笔勾出下图所示的选区,填充暗蓝色,作为底色。
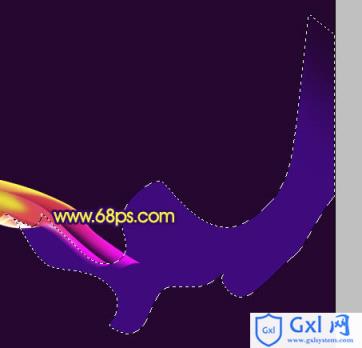
<图22>
21、新建一个图层,按Ctrl + Alt + G 与前一图层编组,在当前图层下面新建一个图层,用钢笔勾出底部高光部分的选区,羽化3个像素后填充蓝色。
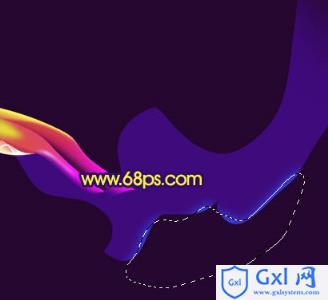
<图23>
22、新建一个图层,用钢笔勾出底部边缘的高光选区,分别用画笔涂上紫色和青蓝色,效果如下图。

<图24>
23、新建一个图层,用钢笔勾出下图所示的选区,羽化3个像素后填充比底色稍亮一点的蓝色,如图25。中间部分用画笔涂上一些高光,涂抹的不均匀可以再用涂抹工具稍作修整,效果如图26。

<图25>

<图26>
24、新建一个图层,用钢笔勾出下图所示的选区,填充蓝色,加上图层蒙版,用黑色画笔把右边部分稍微擦掉。
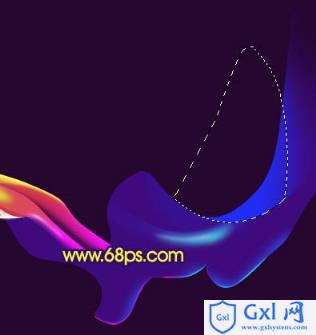
<图27>
25、新建一个图层,用钢笔勾出下图所示的选区,羽化8个像素后填充紫色,效果如下图。
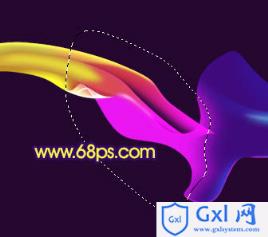
<图28>
26、新建一个图层,用钢笔勾出下图所示的选区,羽化6个像素后填充紫红色。

<图29>
27、新建一个图层,同上的方法制作边缘及中间高光部分,过程如图30 - 32。
<图30>
<图31>

<图32>
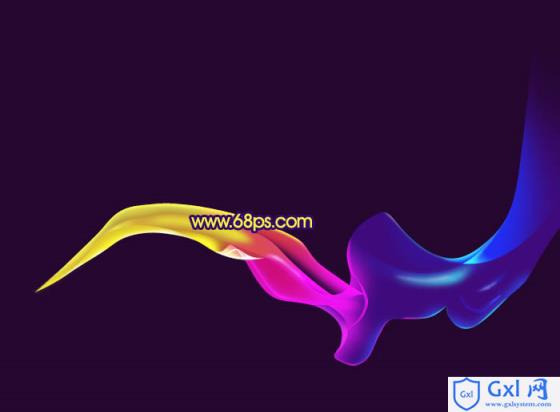
最后调整一下细节,完成最终效果。