Photoshop将室内人物图片转手绘成梦幻卡通手绘效果
时间:2021-07-01 10:21:17
帮助过:33人阅读
本教程介绍较为可爱的仿卡通手绘效果的处理方法。可能制作的难度要稍微大一点,用到纯手绘的部分较多,如人物头发,背景,衣服等都需要用画笔画出来。其它部分的处理跟仿手绘类似。
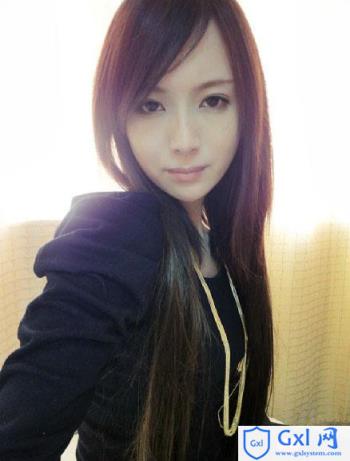
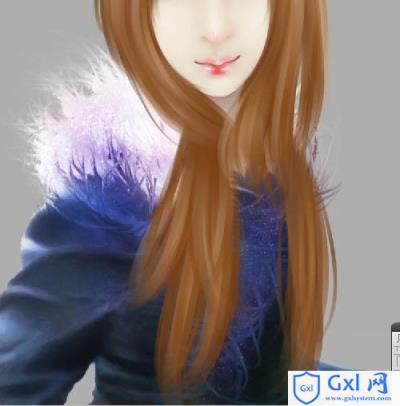
原图
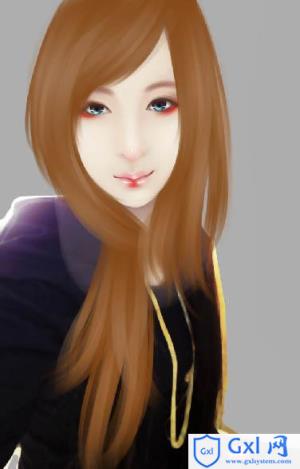
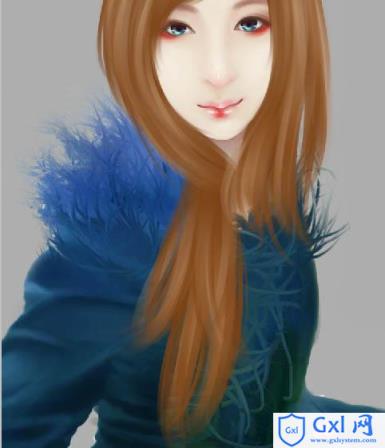
最终效果

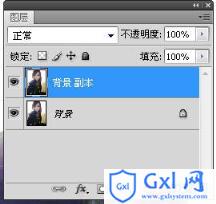
1、打开原图素材,复制一层。
2、在开始在复制出来的图上稍微磨一下皮,然后开始用“低透明度”“低流量”画皮肤(画皮肤时偶习惯用硬笔) 。

3、在画皮肤时,偶也会用“曲线”“色阶”等……工具来进行调整。
4、画出鼻子上的高光。

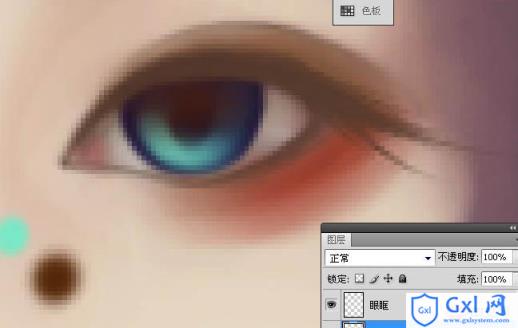
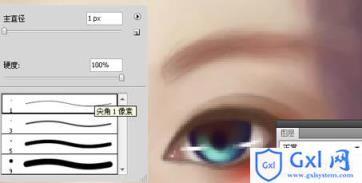
5、眼眶的话偶也不太画,所以偶就不误人子弟鸟。
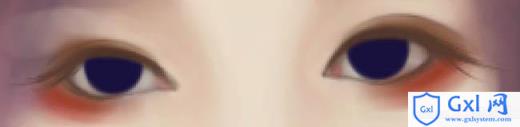
6、眼珠。
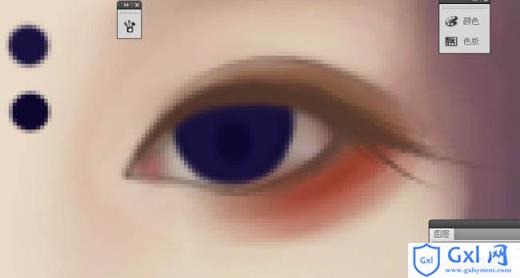
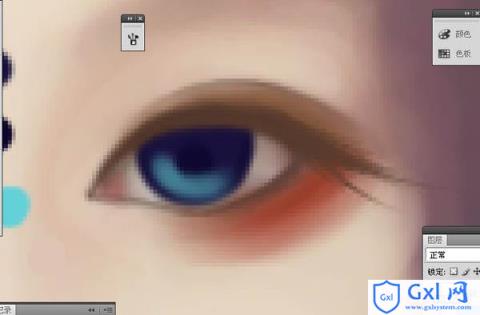

7、用白色画高光。
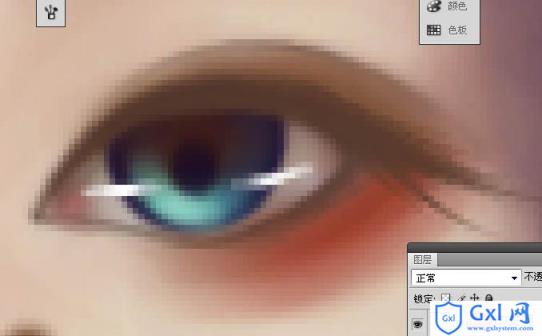
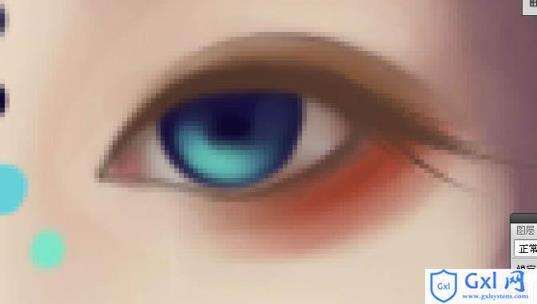
8、眼角细节。
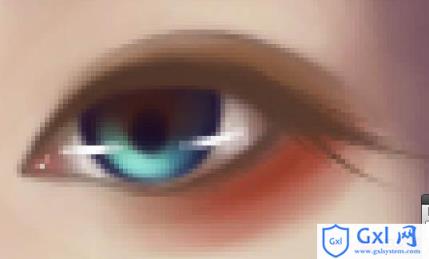
9、两只眼睛。
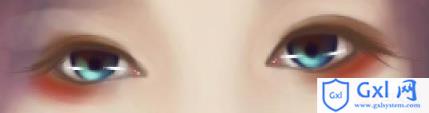
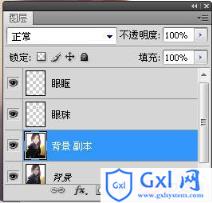
10、眼睛图层。
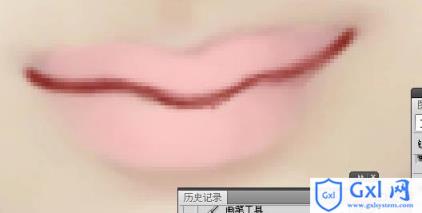
11、返回画皮肤图层开始画嘴巴,画嘴线。

12、铺低色。
13、各种细化,各种阴影。

14、高光。
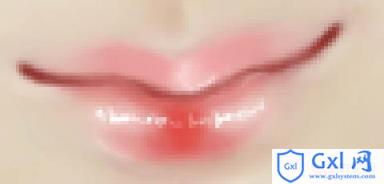
15、轻轻滴,谈谈滴,把底色铺好。
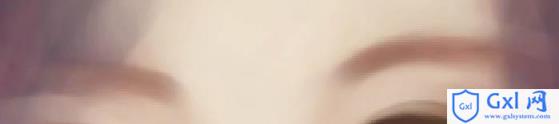
16、然后用一号画笔“低透明度”“低流量”的画出眉毛。
17、再然后用涂抹工具涂抹眉毛,涂抹工具强度60-80(可以自己调整~),画笔大小看乃的图的大小自己调整。

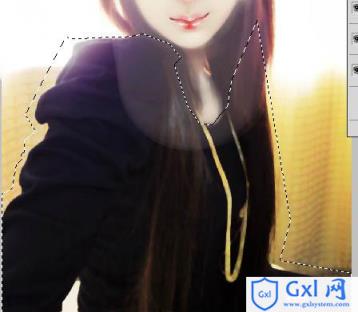
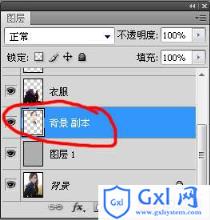
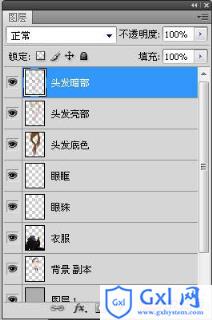
18、衣服可以用“多边形套索”。
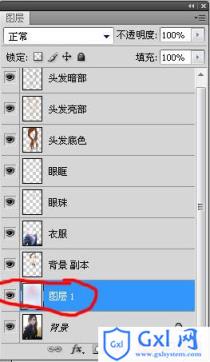
19、右键里面有个“通过剪切的图层”把衣服分层。
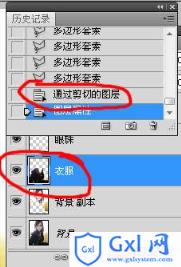
20、新建图层随便填个背景色。
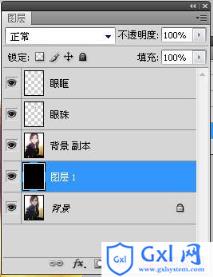
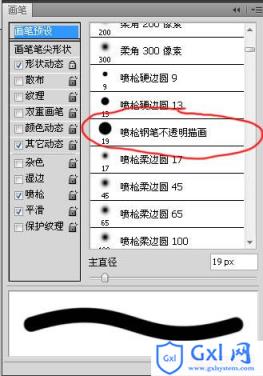
21、返回画皮肤的那个图层把背景用橡皮擦擦掉(换了下背景色)。
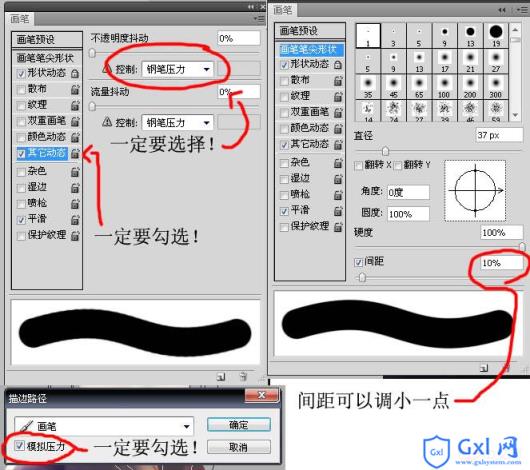
22、返回画皮肤的那个图层把背景用橡皮擦擦掉(换了下背景色)。

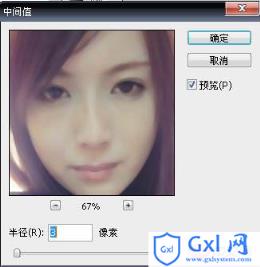
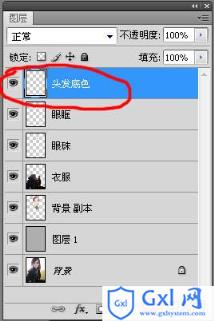
23、于是开始画头发,新建图层,把底色铺好。

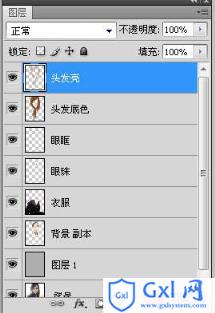
24、新建图层画亮部(就亮发丝)。
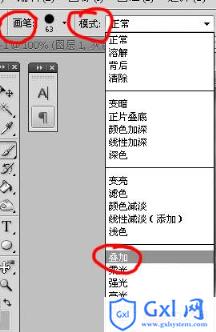
25、新建图层画暗部(就阴影)。

26、画头发用的素ps自带笔刷 “喷枪19号画笔”。
27、笔刷设置。
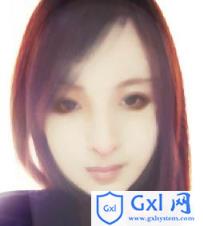
28、然后开始画衣服。衣服的话偶也不太会画所以也不知道说什么好。就“滤镜-杂色-中间值”“涂抹”“ 图像-调整-曲线”。
29、“图像-调整-黑白”。

30、然后把画笔模式选成叠加,把颜色刷上去。
31、画背景。

32、“滤镜-锐化-进一步锐化”,锐化一下五官和衣服。
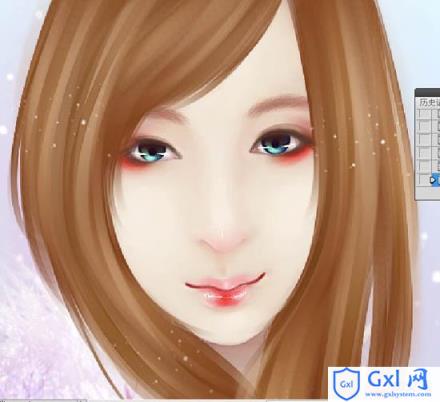

最终效果: