Photoshop制作飘逸的多弧度淡紫色绸带
时间:2021-07-01 10:21:17
帮助过:68人阅读
制作绸带之前,需要找一些实物图参考一下,重点了解褶皱部分的构造。然后画出轮廓,慢慢细化中间的一些褶皱,做出质感。绸带较复杂的可以分段来完成
制作绸带之前,需要找一些实物图参考一下,重点了解褶皱部分的构造。然后画出轮廓,慢慢细化中间的一些褶皱,做出质感。绸带较复杂的可以分段来完成。
最终效果

1、新建一个1024 * 650像素,分辨率为72的画布。选择渐变工具,颜色设置如图1,然后由中间向边角拉出图2所示的径向渐变作为背景色。
<图1>
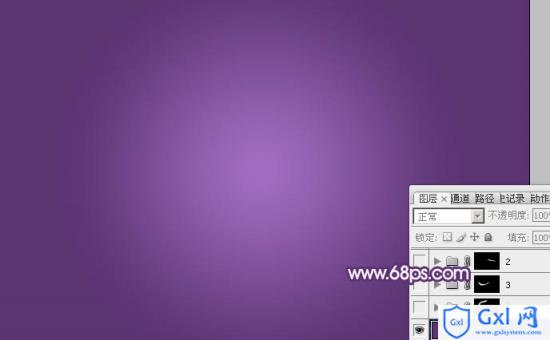
<图2>
2、现在来制作第一段绸带,需要完成的效果如下图。
<图3>
3、新建一个组,在右下角位置,用钢笔勾出第一段绸带的轮廓路径,按Ctrl + 回车转为选区,然后给组添加图层蒙版,如下图。
<图4>
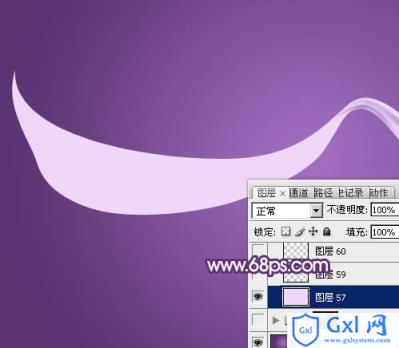
4、在组里新建一个图层,填充淡紫色:#EACAF6作为底色,如下图。
<图5>
5、右侧部分有一点过渡色,新建一个图层,用钢笔在右侧边缘勾出下图所示的选区,羽化6个像素后填充暗紫色#7855A5,取消选区后添加图层蒙版,用透明度较低的黑色画笔把局部擦掉,效果如下图。
<图6>
6、新建一个图层,用钢笔勾出下图所示的选区,羽化3个像素后填充暗紫色:#AB7DCB,取消选区后添加图层蒙版,用黑色画笔把底部局部擦出来,如下图。
<图7>
7、新建一个图层,在刚才制作的两个暗部的交线位置,用钢笔勾出下图所示的选区,羽化1个像素后填充暗紫色:#AB80CB。然后把混合模式改为“正片叠底”,再用模糊工具把两端稍微模糊处理。
<图8>
8、新建一个图层,用钢笔勾出下图所示的选区,羽化3个像素后填充淡紫色:#EED7F8。
<图9>
9、右侧部分基本完成,现在来给整段增加暗部,方法也非常简单,用钢笔勾出轮廓,转为选区后填充暗紫色。
<图10>
10、新建图层,同上的方法添加更多的暗部区域,每一条暗部带都需要用蒙版控制好过渡,过程如图11 - 13。
<图11>
<图12>
<图13>
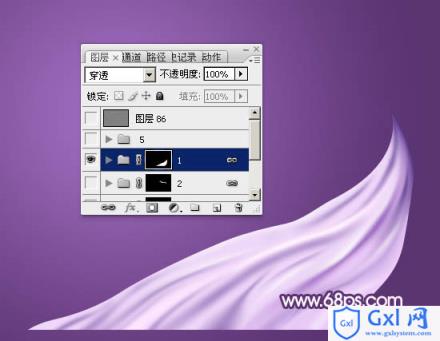
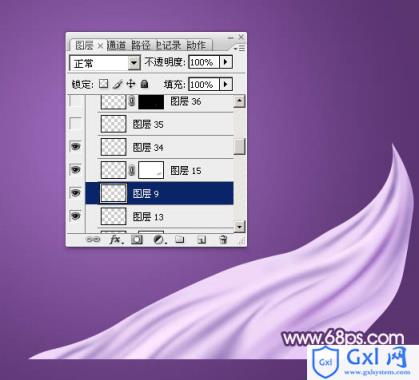
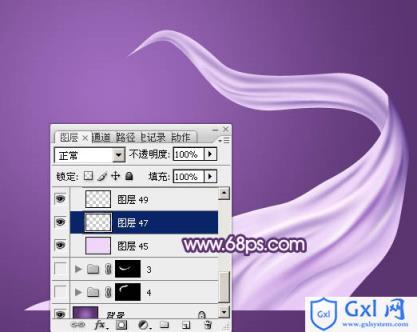
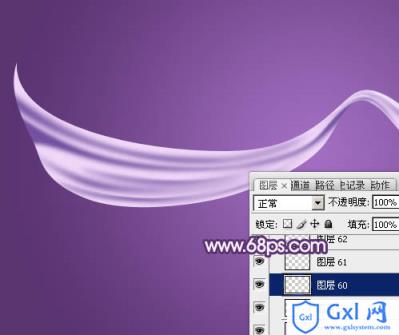
11、新建图层,在暗部边缘添加一些高光,丝绸的褶皱效果就出来了。

<图14>
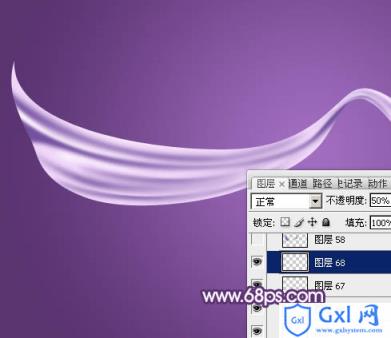
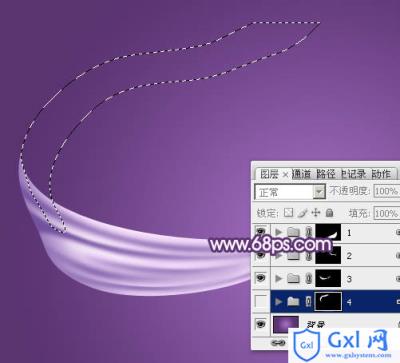
12、顶部是弯曲的,还需要增加一点暗部。在组的最上面新建一个图层,用钢笔勾出下图所示的选区,羽化8个像素后填充暗紫色,混合模式改为“正片叠底”。
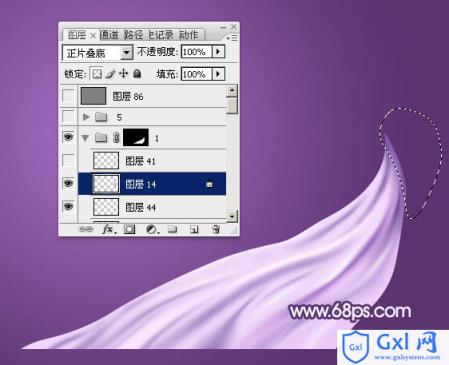
<图15>
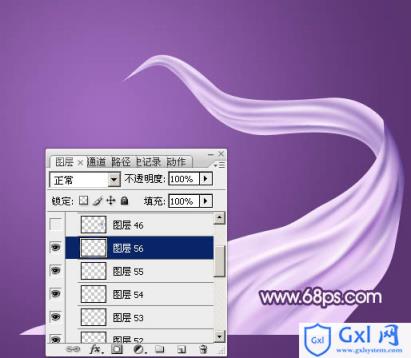
13、同上的方法加强一下暗部边缘的暗部,如下图。
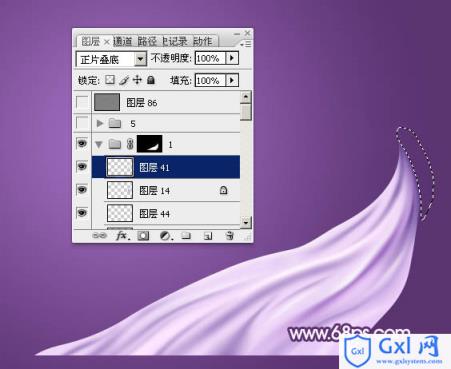
<图16>
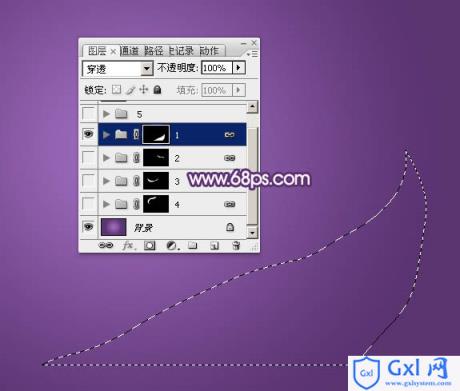
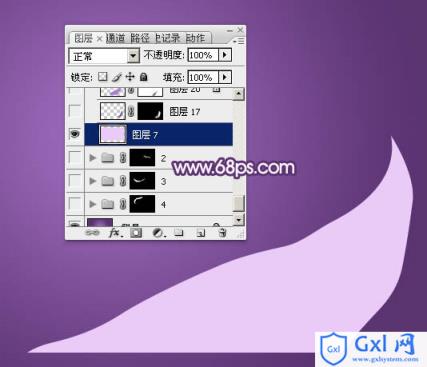
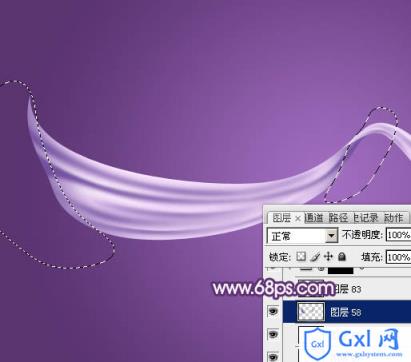
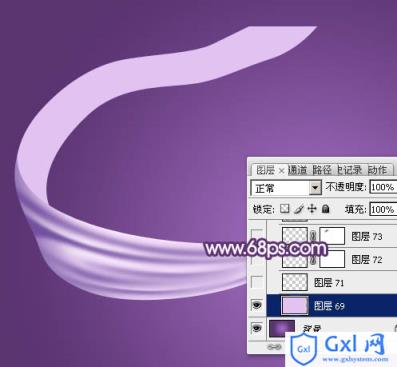
14、在背景图层上面新建一个组,用钢笔勾出第二段绸带的轮廓,转为选区后给组添加蒙版,如下图。
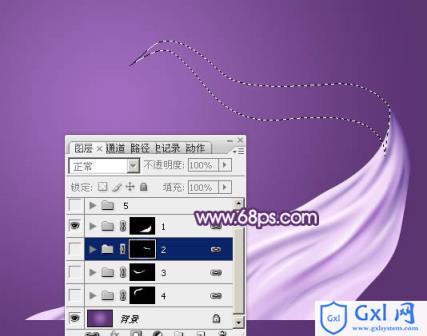
<图17>
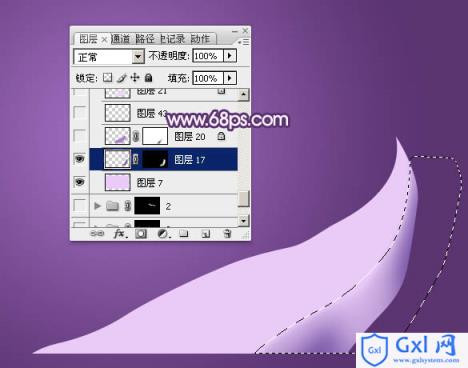
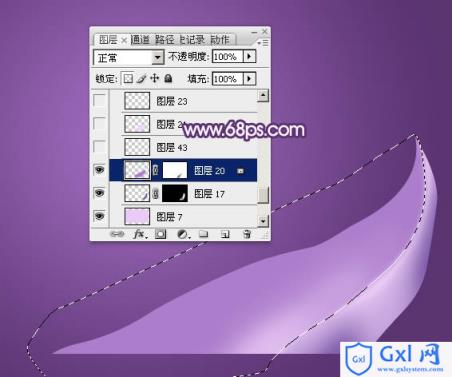
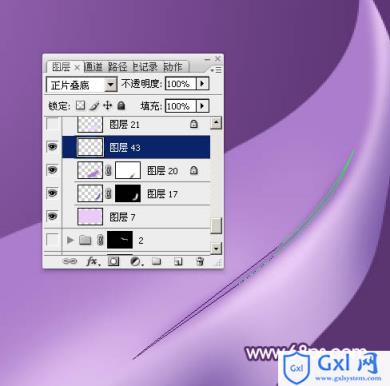
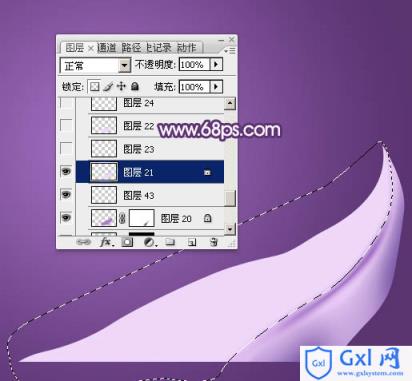
15、通过上面的练习,对绸带的制作思路有了一定的了解。后面的制作就是如法炮制:填充底色 > 铺暗部 > 铺高光 > 刻画两端的明暗。有过渡色的部分需要调色或底层加上渐变色。

<图18>
<图19>
<图20>
<图21>
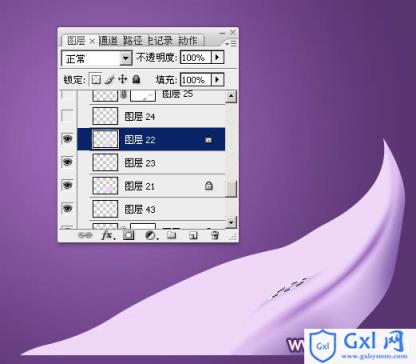
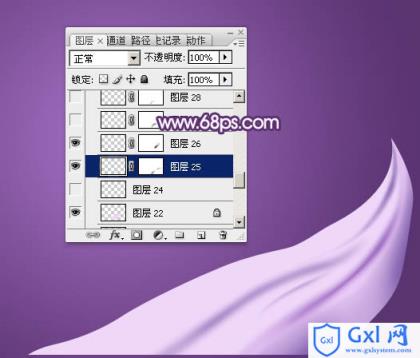
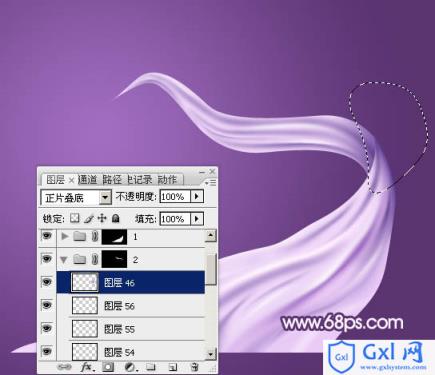
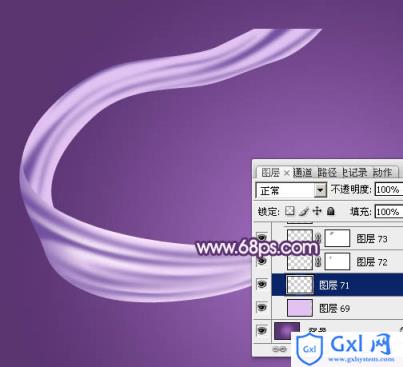
16、在背景上面新建一个组,同上的方法制作第三段绸带,过程如图22 - 26。
<图22>
<图23>
<图24>
<图25>
<图26>
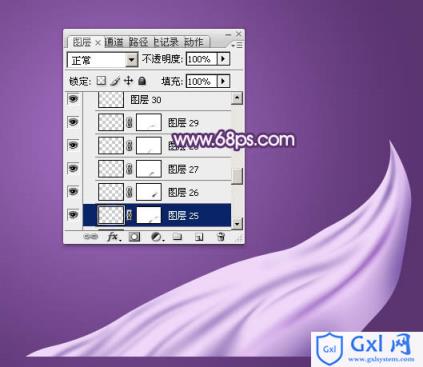
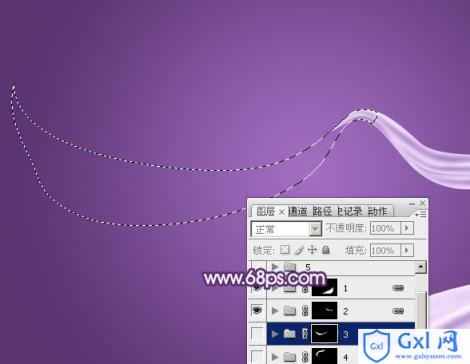
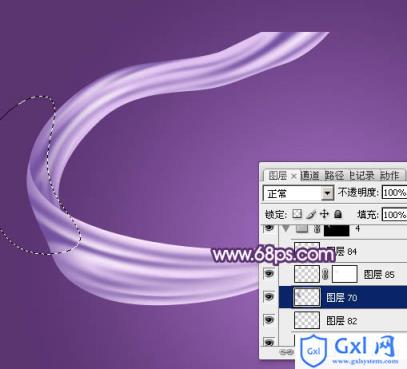
17、在背景上面新建一个组,同上的方法制作第四段绸带,过程如图27 - 31。
<图27>
<图28>
<图29>

<图30>
<图31>
最后调整细节,再把整体锐化一下,完成最终效果。
以上就是Photoshop制作飘逸的多弧度淡紫色绸带的内容,更多相关内容请关注PHP中文网(www.gxlcms.com)!