用阳光温暖羊年的脚步,用幸福美化羊年的风景,用快乐编织羊年的故事,用平安开拓羊年的道路,用真诚传递羊年的祝福。愿你羊年快乐不断,幸福绵绵
用阳光温暖羊年的脚步,用幸福美化羊年的风景,用快乐编织羊年的故事,用平安开拓羊年的道路,用真诚传递羊年的祝福。愿你羊年快乐不断,幸福绵绵!
制作贺卡之前,先多欣赏一下高手的作品,确定好像要的风格。然后搜集一些符合风格的素材,再按自己的思路去组合溶图等,做出像要的效果。
最终效果

1、新建一个1000 × 700像素,分辨率为72的画布,新建一个组命名为“背景”,如下图。

<图1>
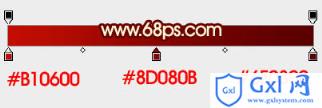
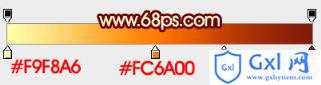
2、在组里新建一个图层,选择渐变工具,颜色设置如图2,然后由中心向边角拉出图3所示的径向渐变作为背景。
<图2>

<图3>
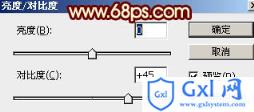
3、创建亮度/对比度调整图层,适当增加对比度,参数及效果如下图。
<图4>

<图5>
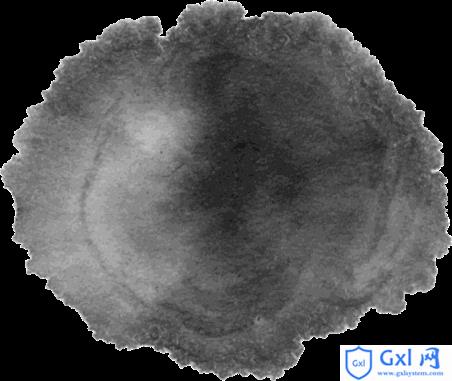
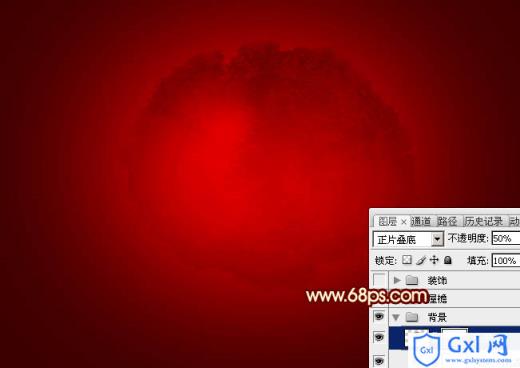
4、在图6上鼠标右键选择“图片另存为”,保存到本机,再用PS打开,拖到新建的画布里面,把混合模式改为“正片叠底”,不透明度改为:50%,添加图层蒙版,用透明度较低的黑色画笔把底部的过渡擦出来,如图7。
<图6>
<图7>
5、新建一个组,命名为“屋檐”。

<图8>
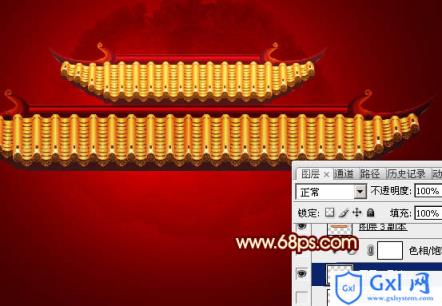
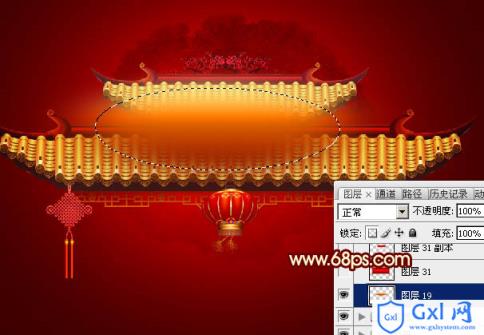
6、点击图9打开屋檐大图,并保存,再用PS打开,拖到新建的组里面,调整好位置,如图101。

<图9 点小图查看大图>

<图10>
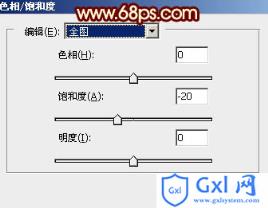
7、把屋檐素材复制一层,创建色相/饱和度调整图层,适当降低饱和度如图11,确定后按Ctrl + Alt + G 创建剪切蒙版。
<图11>

<图12>
8、把原屋檐素材复制一层,移到组的最上面,把混合模式改为“正片叠底”,用黑色画笔把底部过渡擦出来,如下图。

<图13>
9、把原屋檐素材再复制一层,调整一下大小,如果太长,可以删除中间局部,如下图。
<图14>
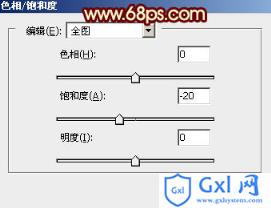
10、创建色相/饱和度调整图层,同样降低饱和度,如图15,确定后同上的方法创建剪切蒙版,如图16。
<图15>

<图16>
11、打开线框和梅花素材,拖进来,放到组的最下面。线框素材可以添加一点投影,如图19。

<图17>

<图18>

<图19>
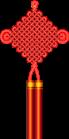
12、加入中国结和灯笼素材,都是PNG格式,可以直接使用,然后调整好位置,如图22。
<图20>

<图21>

<图22>
13、新建一个组,命名为“装饰”,如下图。

<图23>
14、在组里新建一个图层,用椭圆选框工具拉出图24所示的椭圆选区,羽化60个像素后拉上图25所示的线性渐变。
<图24>
<图25>
15、再倒入卷轴和文字素材,文字适当加点投影,如图28。

<图26>

<图27>

<图28>
16、再加入卡通羊素材,添加一些投影,局部调整一下明暗,如图30。

<图29>

<图30>
17、再加入祥云素材,如图32。

<图31>

<图32>
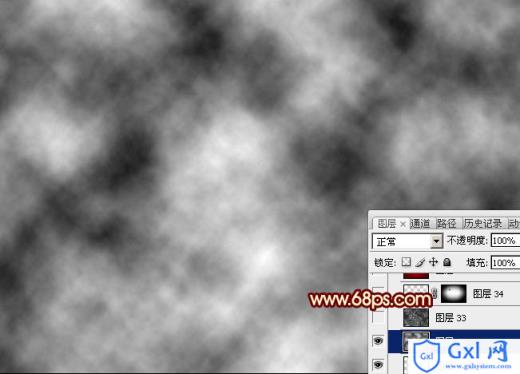
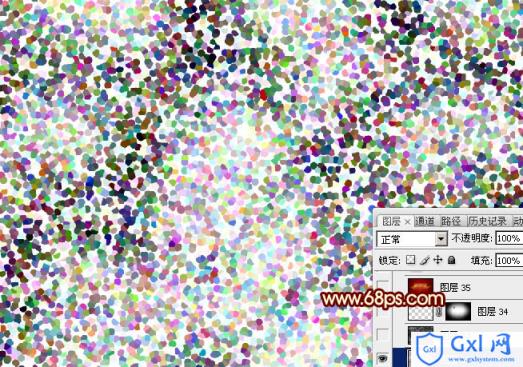
18、现在再来增加一些碎片。新建一个图层,按字母键“D”把前,背景颜色恢复到默认的黑白,然后选择菜单:滤镜 > 渲染 > 云彩,效果如下图。
<图33>
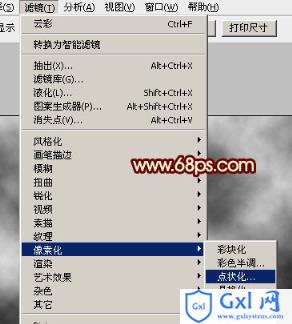
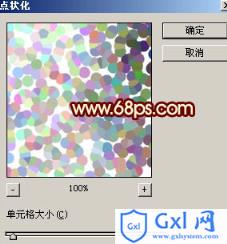
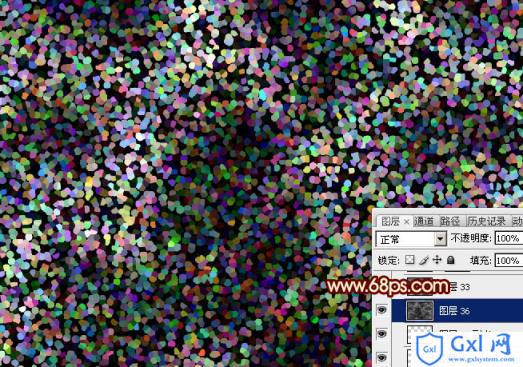
19、选择菜单:滤镜 > 像素化 > 点状化,数值为15,确定后再按Ctrl + F 两次,效果如图36。
<图34>
<图35>
<图36>
20、按Ctrl + I 反相,效果如下图。
<图37>
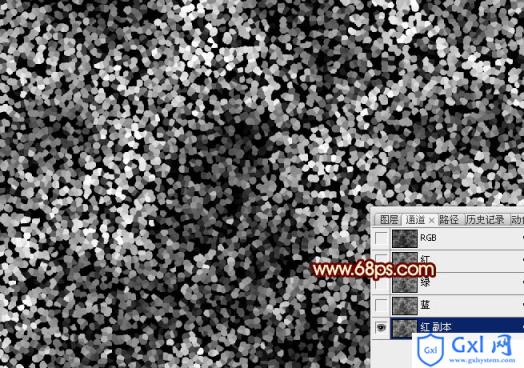
21、进入通道面板,把红色通道复制一层,得到红副本通道,如下图。
<图38>
22、按Ctrl + M 调整曲线,把暗部调暗,参数及效果如下图。

<图39>
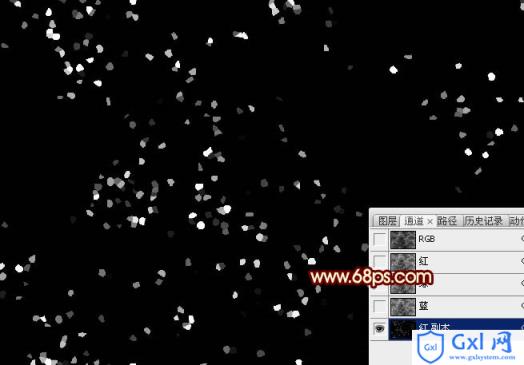
<图40>
23、按住Ctrl键点击红副本通道缩略图载入选区,点RGB通道返回图层面板,如下图。
<图41>
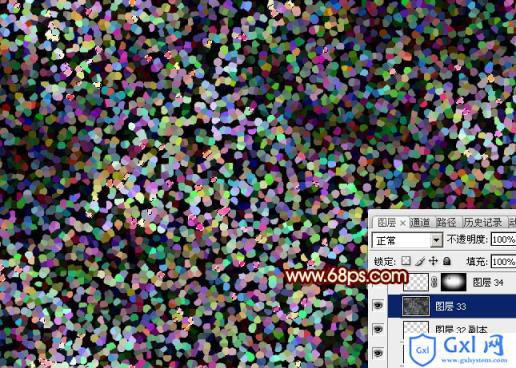
24、给图层添加图层蒙版,把混合模式改为“滤色”,用黑色画笔把边缘部分的碎块擦掉,效果如下图。

<图42>
25、适当把整体柔化处理,效果如下图。

<图43>
最后微调一下细节,完成最终效果。